author avatar
    Specialist of Customer Service Dept.
 

Summary
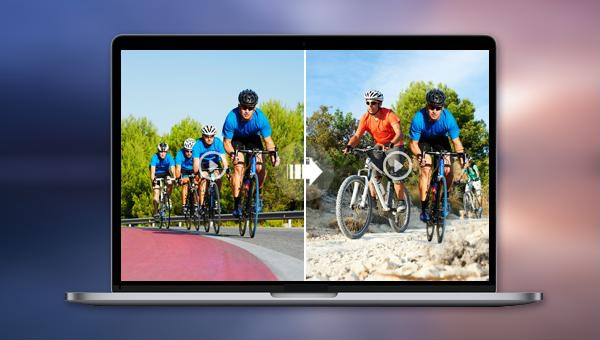
Master how to clone yourself video with video editing software: synthesize backgrounds and seamlessly combine multiple characters into a single scene.


clone yourself video

I. How to key and clone video characters into a video?

Users familiar with video editing know that while keying can be done using professional Video Toolbox, having people stand in front of a green screen ensures more accurate keying. Here are the specific steps.

Step 1: Capture video footage of people in front of a green screen

Set up a green background. If you lack a professional green screen, use a solid-color green cloth. Ensure the video characters’ clothing is not the same color as the background. Align the shooting tool’s viewing angle with the green background’s visible area, then have the characters move in front of the green screen according to the script or rendering requirements.

Step 2: Import the captured video into a video editing tool

Here we take Filmora software as an example to explain the specific steps for you:
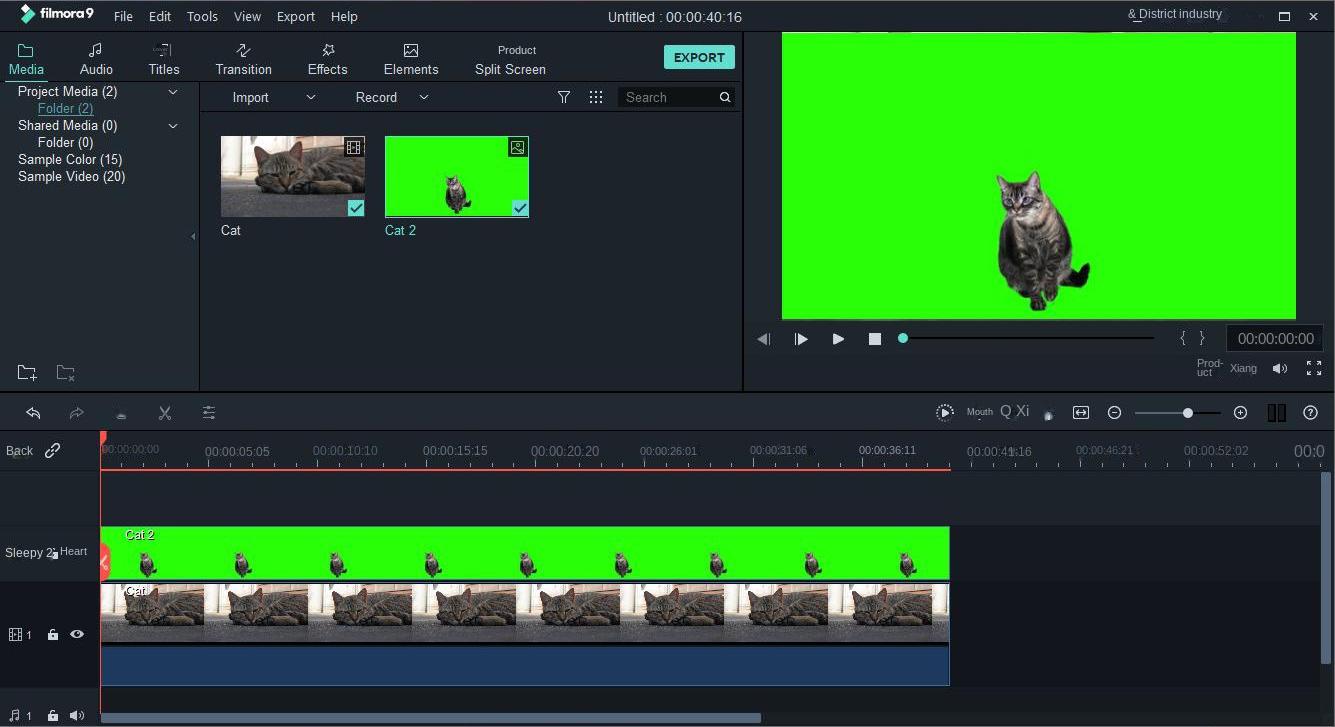
Download, install, and run Filmora. Click “New Project”, then “Media” > “Project Media” > “Import Media Files” to import the background and green screen videos separately. Drag the background video to the timeline, then place the green screen video above it.
add video file

Step 3: Clone the character

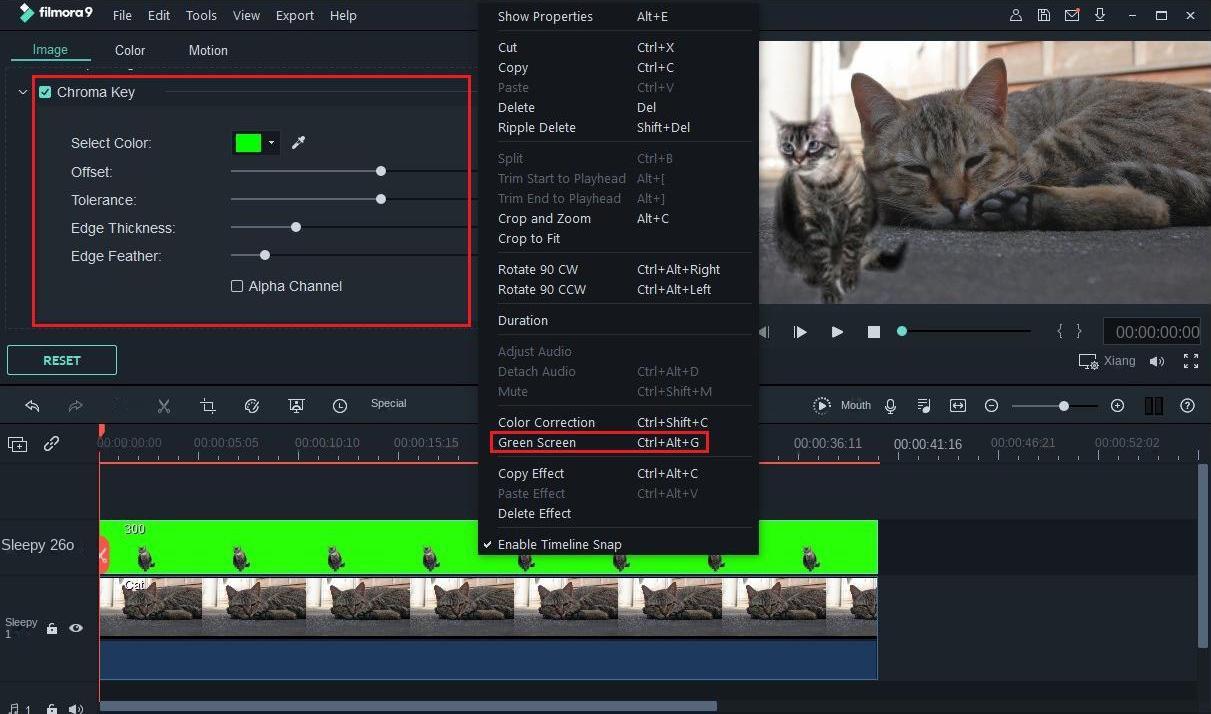
After completing the operation, select the video file with a green background on the timeline, right-click to choose the Green Screen option. Adjust the Chroma Key parameters in the upper left corner until the green background disappears and the video characters are integrated into the background video. This completes the keying and cloning process.
Adjust Green Screen Parameters
The above steps detail how to key and clone video characters, but the process can be cumbersome. For novice users wanting to combine videos with multiple characters, Renee Video Editor is an ideal tool. Its simple interface and ease of use make it very convenient. Let’s explore this software and the screen splicing method in detail below.

II. Use Renee Video Editor software to combine multiple videos containing people into one video

1. What is Renee Video Editor software?

Renee Video Editor is a versatile video editing software. It supports converting between various video formats like WMV, AVI, MP4, M4A, MOV, and MKV, and saves files in formats supported by different devices. The software includes a Video Toolbox for diverse editing needs, such as merging videos, batch editing, cropping, adding subtitles, watermarks, special effects, background music, converting videos to GIFs, and playing multiple videos on the same screen.
The interface of this software is simple and easy to operate. Whether you are a novice in video editing or a professional editing expert, this software will be a very good choice for you.
Renee Video Editor – Multi-function Video Editing SoftwareRenee Video Editor professional video edit tools

Separate videos with different parametersUsers can separate videos into equal clips by time, size and self-set parameter.

Cut Videos & AudiosUsers are free to cut videos and audios clips by setting start and end time.

Multiple Edit ToolsMerge, crop, rotate, cut and transform video easily. Change and add background music, subtitles and watermark to video.

Format ConversionSupport to convert videos and audios into different formats.

Separate videosSeparate videos into equal clips by time, size and self-set parameter.

Cut Videos & AudiosCut videos and audios clips by setting start and end time.

Format ConversionConvert videos and audios into different formats.
Free TrialFree TrialDownload

3000 users have downloaded and used Renee Video Editor!

2. Use Renee Video Editor to make video split screen effect

You can use the Video Split Screen function of Renee Video Editor to combine multiple videos into one. It supports importing the same video and selecting clips of different characters to play simultaneously, or importing different video files for screen splicing. Here are the specific steps for splicing multiple video images:
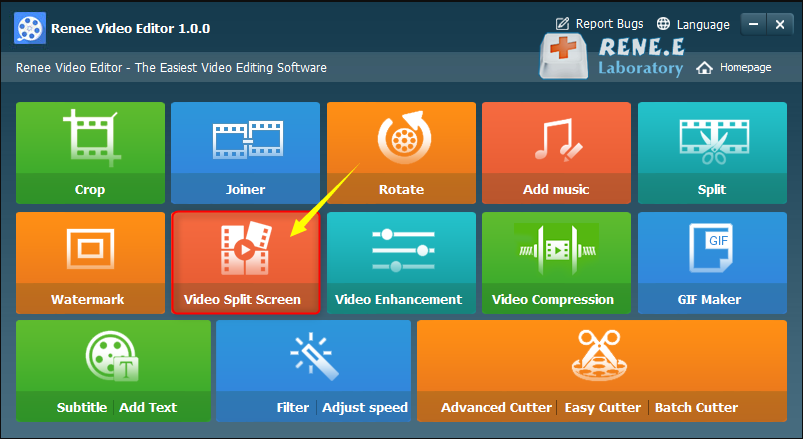
Step 1: Download, install, and run Renee Video Editor software, click the (Video Split Screen) function.
get into split in renee video editor
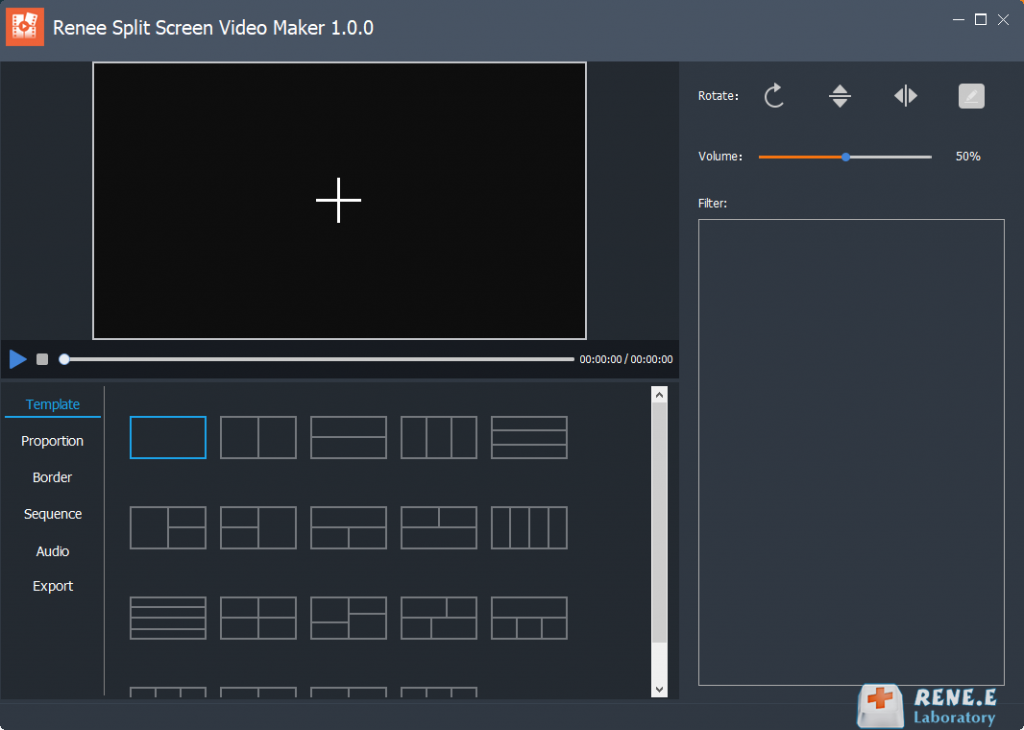
Step 2: Select (Template) in the left function bar to choose the desired video split screen style. Add video files using the (+) above. To display different segments of the same video, click the remaining (+) to add the same video file.
select a template in renee video editor
Video Split Screen function:

  • Template: Supports splicing and combining 2-5 video screens.
  • Proportion: Includes 16:9, 9:16, 4:3, and 1:1.
  • Border: Set border width and color, including white, red, gray, yellow, green, blue, etc.
  • Sequence: Choose between simultaneous or sequential playback.
  • Audio: Add background music to split-screen videos.
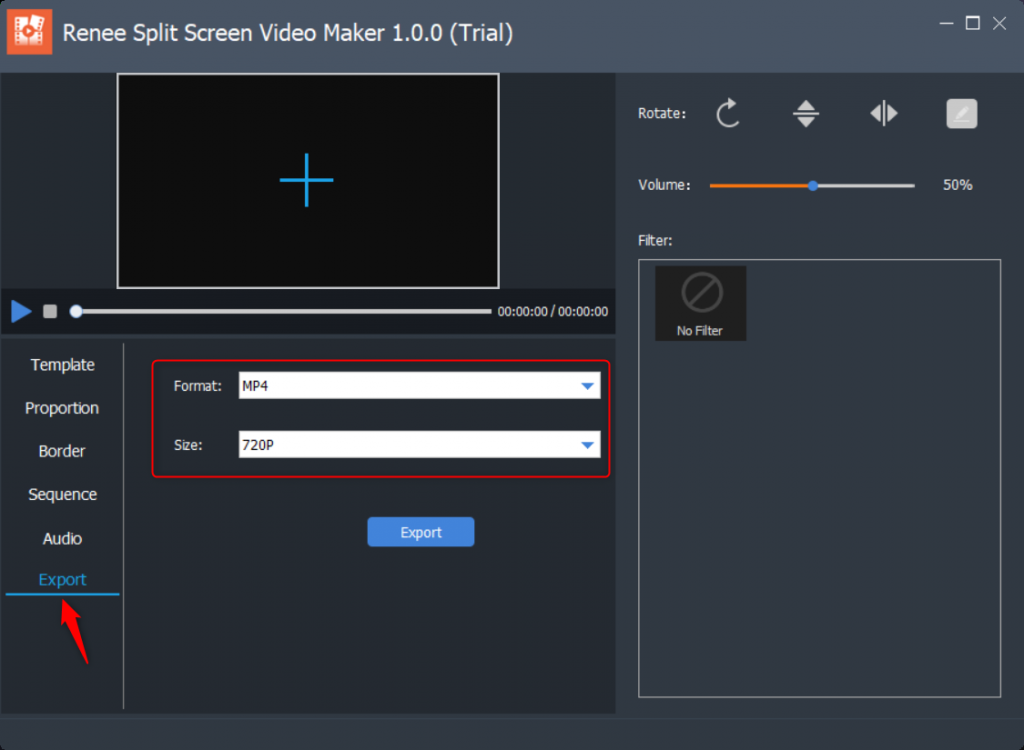
  • Export: Set format and resolution. Formats: MP4, AVI. Resolutions: 360P, 720P, 1080P.
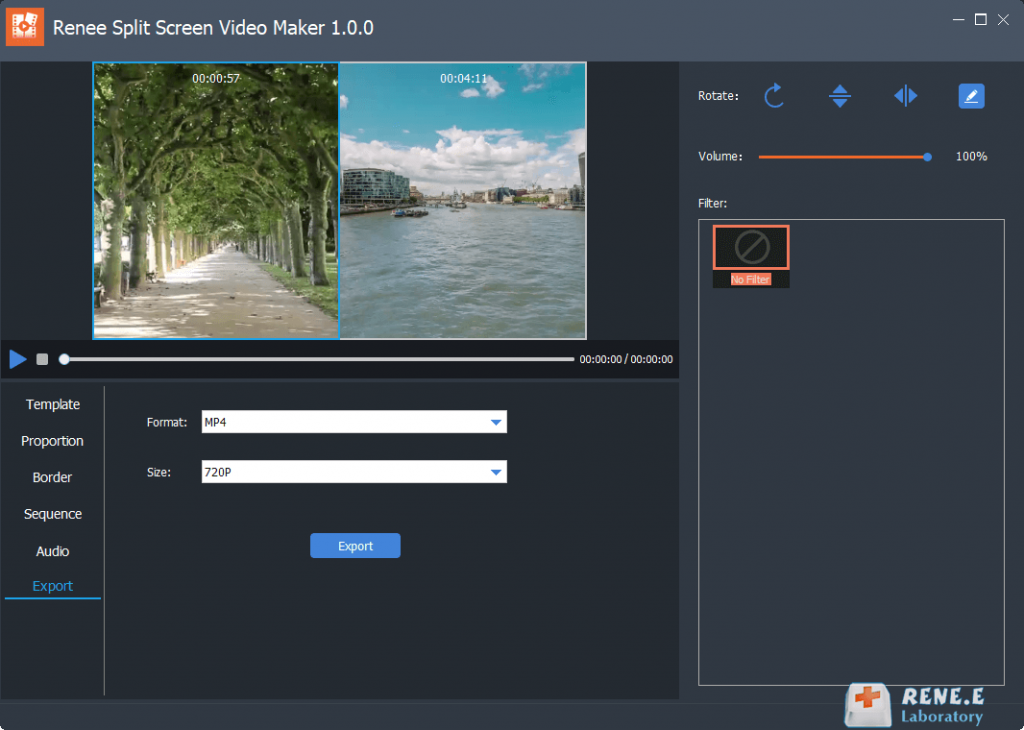
Step 3: Select each video added to the software, click the edit button, set the start and end times, and click OK. Adjust the aspect ratio, frame, playback order, and background music as needed.
how to split video screen with renee video editor
Step 4: Click the (Export) option in the left function bar, after setting the (Format) and (Resolution), click the (Export) button to export the video to the specified folder.
export video

3. Use Renee Video Editor to make video picture-in-picture effects

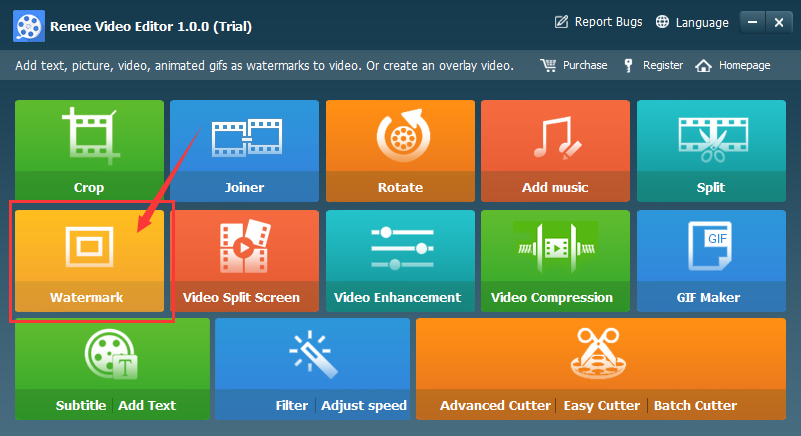
To create a picture-in-picture video effect where you can freely set the size and position of the video frame over the background video, use Renee Video Editor’s Watermark function. This tool supports adding multiple video watermarks to the background video and allows you to adjust their position and size as needed. Here are the steps:
Step 1: Download, install, and run the Renee Video Editor software, and click the (Watermark) function.
ve watermark
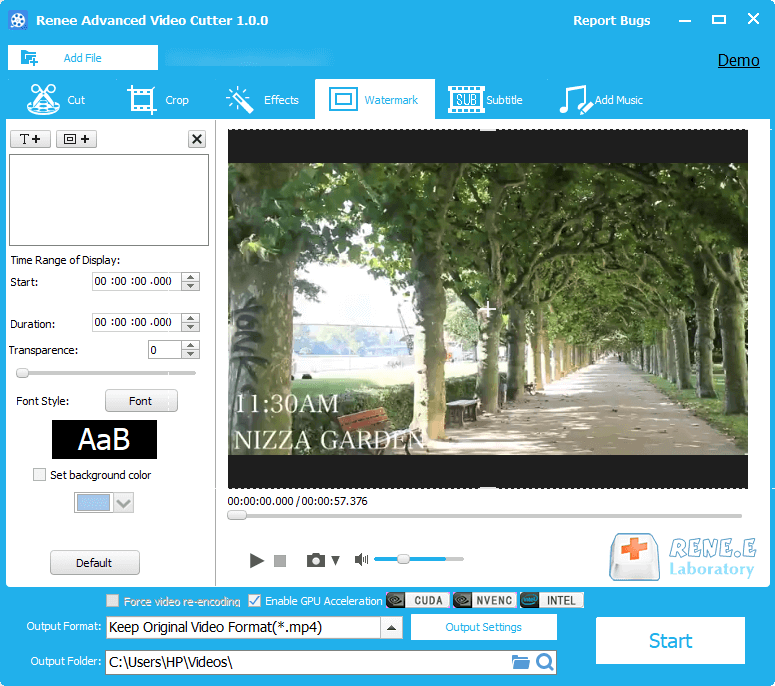
Step 2: Enter the video watermark interface, click Add File to add a background video, then click Add Image or Video Watermark to import the video file to be superimposed. You can set the watermark’s screen size, position, transparency, and playback duration. After setting, select the video output format and file save location, then click Start to export the video. This will create a picture-in-picture video.
add watermarks into video with renee advanced cutter