

Quick and Easy Guide for How to Remove Partition on USB Drive

Summary
Explore the simple steps to effortlessly delete a partition on your USB drive and consolidate the space into a single, more efficient partition. Furthermore, discover the reliable method to retrieve your missing files using Renee Undeleter in our hands-on guide.
Table of contents
removing partitions. It’s essential to back up important files before proceeding to delete a USB stick partition to safeguard against potential data loss. For an optimal backup solution, consider using Renee Becca for a user-friendly backup process. Simply follow the easy steps to delete your U disk partition without any hassle.

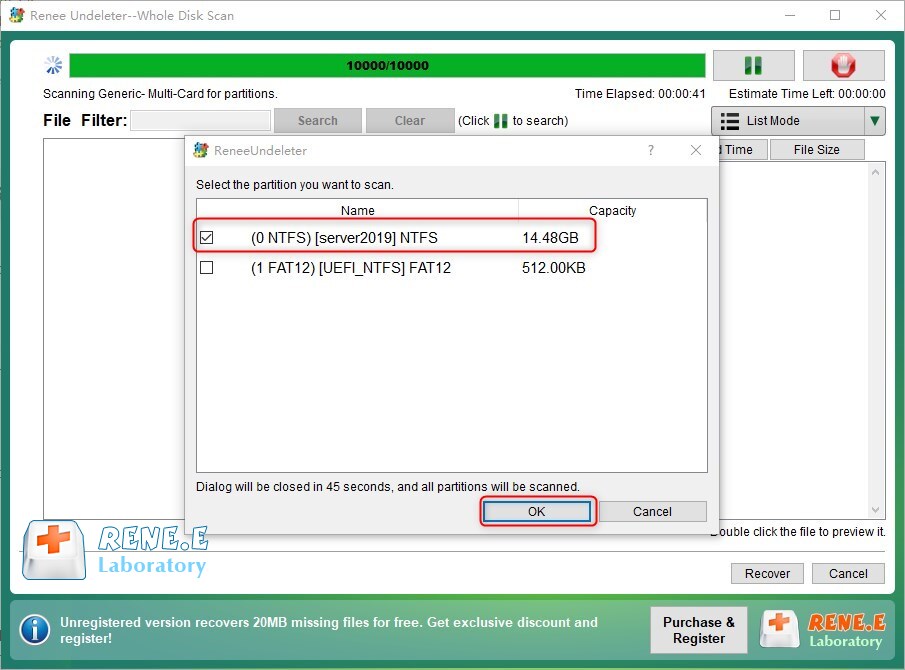
Easy to use Recover data by 3 steps;
Multiple scan modes Fast partition scan, whole partition scan and whole disk scan;
Supported file types Image, video, audio, text, email and so on;
Image creation Create a partition image to read and back up data;
Supported devices SD card, SDHC, SDXC, USB flash drive, hard disk and computer.
Easy to use Recover data by 3 steps;
Multiple scan modes Fast partition/whole partition/whole disk scan;
Supported devices SD card/USB/hard disk.
Free TrialFree TrialFree Trial 800 people have downloaded!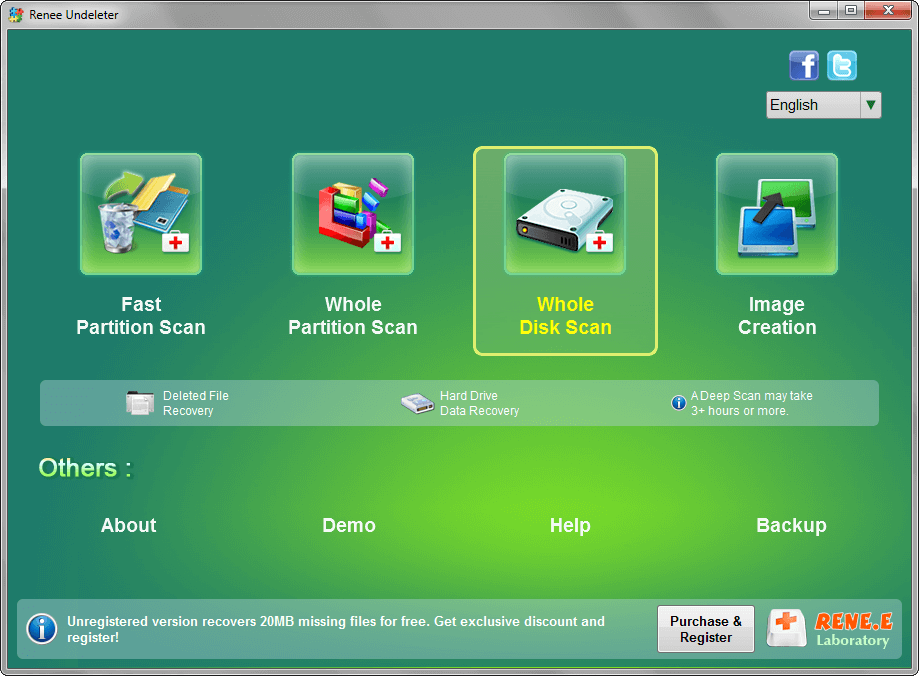
- Fast Partition Scan: Recovers files quickly after accidental deletion or recycle bin emptying.
- Whole Partition Scan: Restores files from inaccessible or formatted partitions with speed.
- Whole Disk Scan: Retrieves partition information and thoroughly scans each partition.
- Image Creation: Generates a mirror image of a partition for current state backup.


Relate Links :
How to Fix When Files on SD Card Not Showing up on Android?

27-12-2021
Amanda J. Brook : Sometimes, the SD card files are not showing up on Android. How can we solve the problem? In...
How to Fix GoPro SD Card Error?

14-09-2024
Ashley S. Miller : Some people meet with the GoPro SD card errors, such as “NO SD” and “SD ERR”. In this...
Solutions to SD Card Unexpectedly Removed on Android
24-12-2021
Jennifer Thatcher : Some Android users complain that they always receive the notification saying that the SD is unexpectedly removed. In...
How to Fix Corrupted SD Card on Android?

16-12-2021
John Weaver : SD card is used in various devices, phones, cameras and video games. How to fix the corrupted SD...
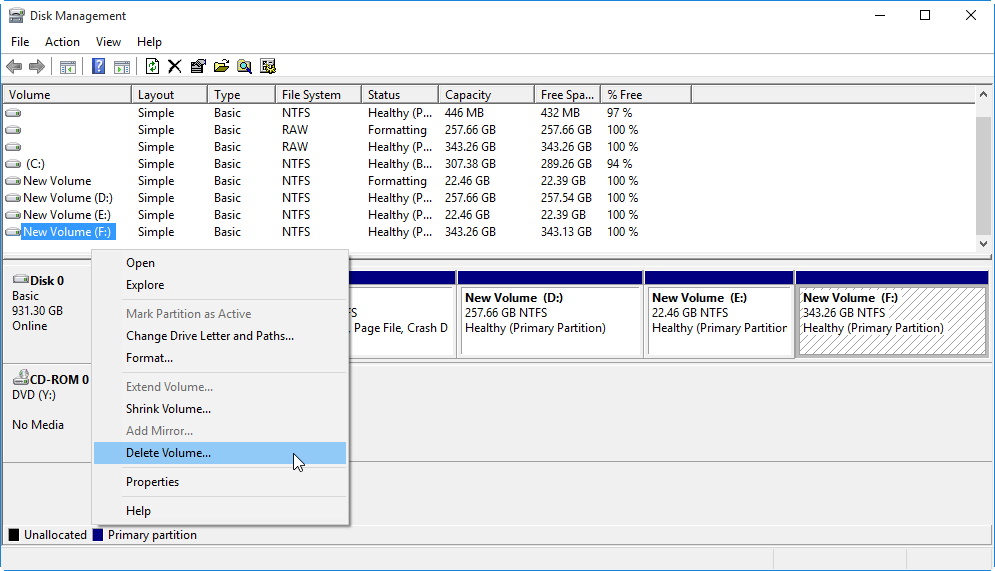
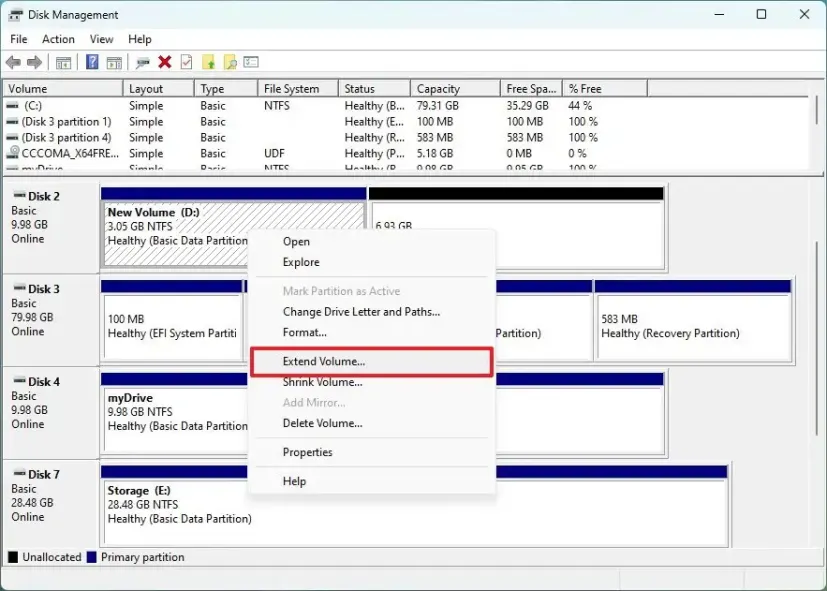
- I. How to delete the U disk partition?
- 1. How to delete the U disk partition in Windows system
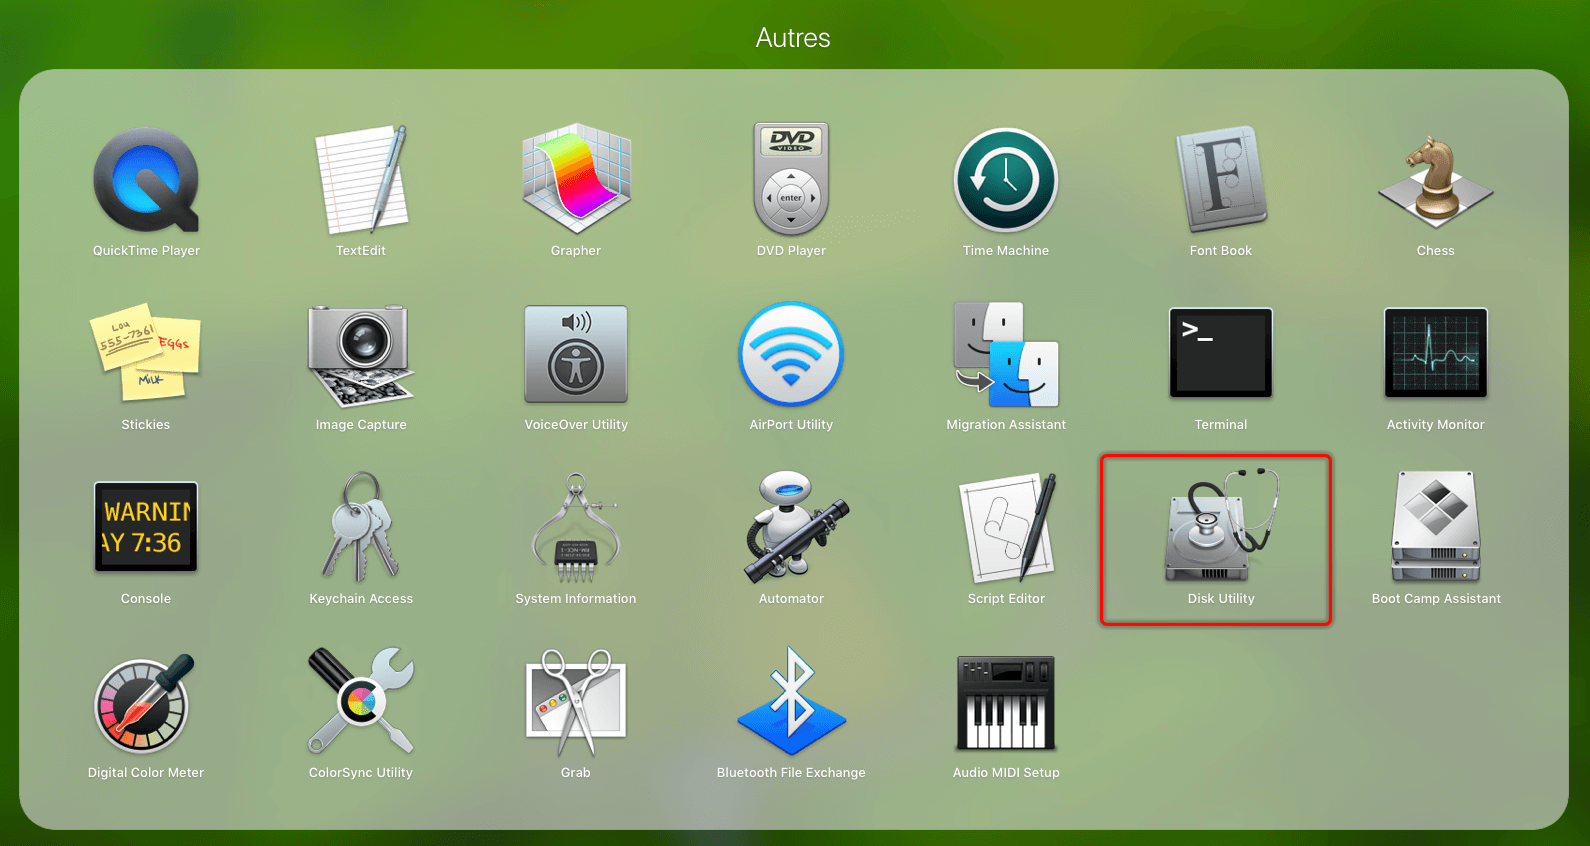
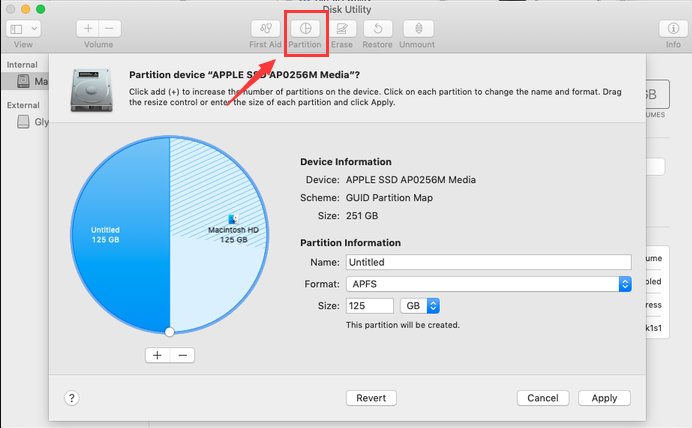
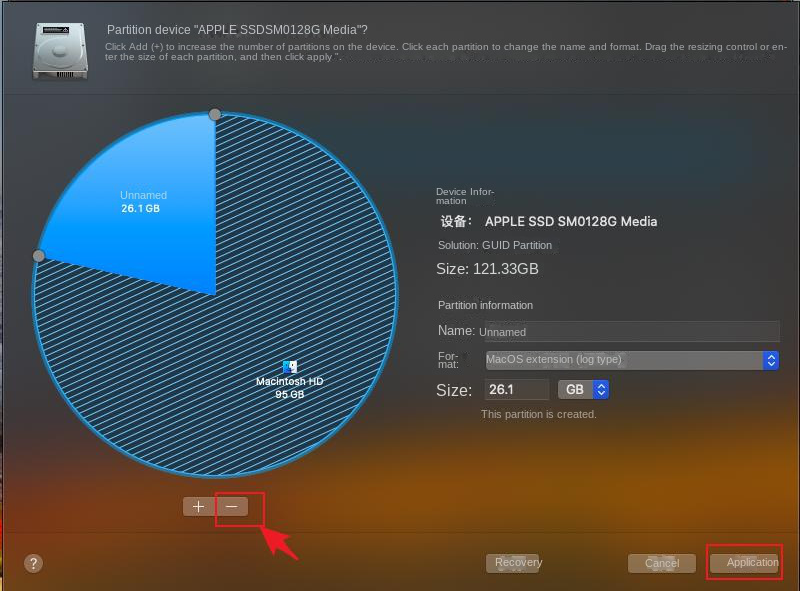
- 2. How to delete the U disk partition in the Mac system
- II. How to restore data on U disk partitions deleted by mistake?
- 1. Preparations for restoring U disk partition data
- 2. Use Renee Undeleter to restore U disk partition data

