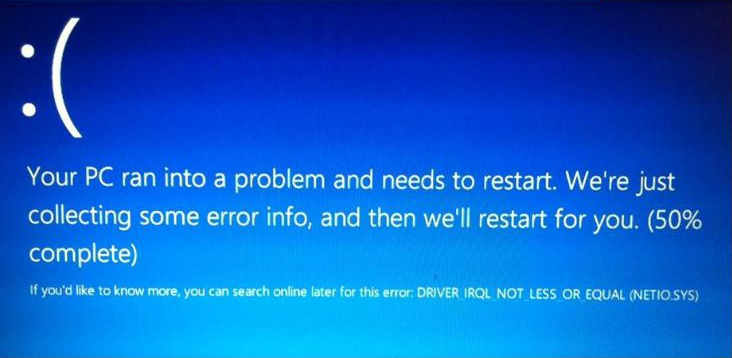
I. How to fix NETIO.SYS blue screen error?
The NETIO.SYS blue screen error is most likely related to a problem with the network driver. In addition, improper system configuration, software or hardware problems, corrupted system files, etc. may also be the cause of this blue screen error. Before starting the following repair operations, it is recommended that you scan the computer with the anti-virus function that comes with the system to check whether there is a virus or malware that causes the NETIO.SYS blue screen error. If the problem persists, please continue to try the following methods.
1. Uninstall newly installed software or hardware
If the NETIO.SYS blue screen error occurs after you have recently installed new software and hardware, it is recommended that you remove the corresponding hardware in the shutdown state, and then follow the steps below to uninstall the recently installed software.
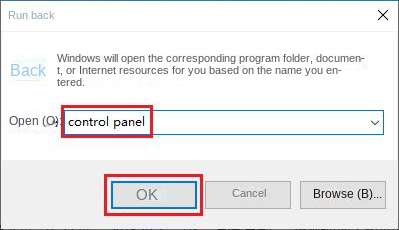
Step 1: Restart the computer, press the (Windows+R) key to open the run window. Type (control panel) in the command box and click (OK) to open the control panel.
Note: If you cannot restart the computer smoothly and enter the Windows system, you can try to enter the safe mode and then uninstall the software.
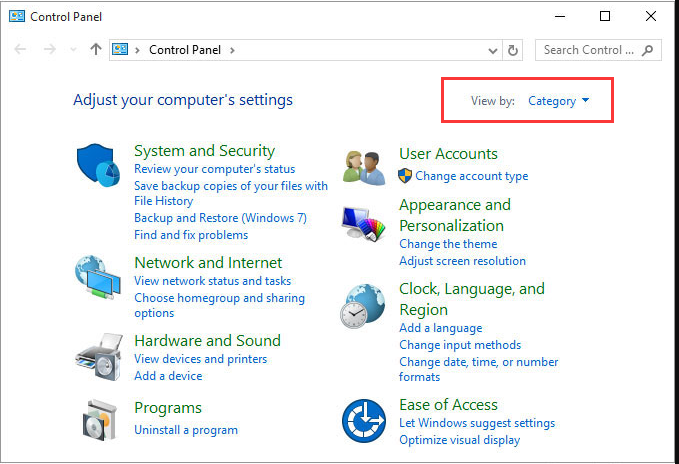
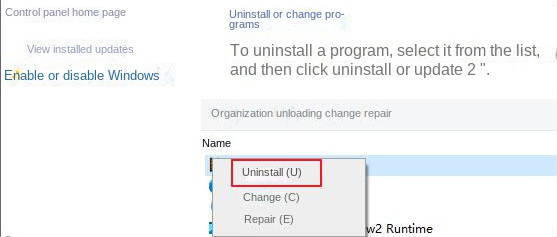
Step 2: After opening the control panel, set the view method to (category), and then click (uninstall a program).
Step 3: Right click on the newly installed software and click on the (Uninstall) button. After uninstalling the program, restart the computer to see if the problem is resolved.
2. Update the network driver
NETIO.SYS blue screen errors are often related to network driver issues, so updating your network drivers might fix the problem. Two methods of updating network drivers are described below.
Method 1: Via Windows Update
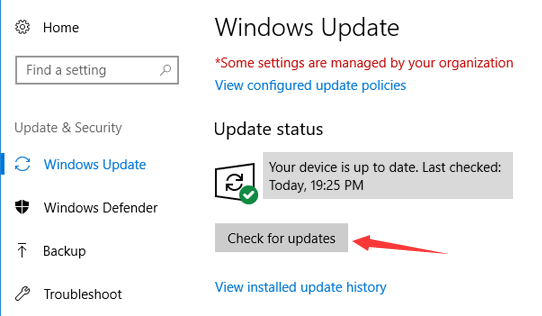
Step 1: Restart the Windows computer, click (Start) > (Settings) > (Update and Security).
Step 2: Click the (Check for Updates) button in the (Windows Update) column, and if an update is found, Windows will start downloading the update. After downloading the update, click (Install Now), it may be necessary to restart several times during the installation of the update. Then check to see if the problem is resolved.
Method 2: Via Device Manager
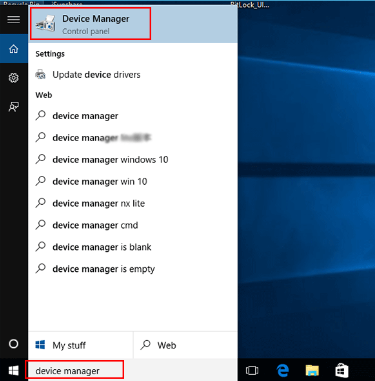
Step 1: Press the (Windows+S) key, and enter (device manager) or (device manager) in the search box, and click (device manager) in the search results.
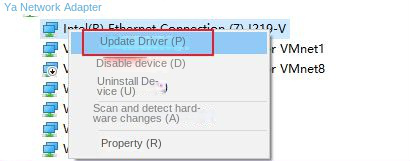
Step 2: Expand (Network Adapters), right-click the network adapter you are using and select (Update Driver).
Step 3: Select (Automatically search for drivers) and wait for the update to complete. If the automatic driver search doesn’t work, you may choose to visit the manufacturer’s website and search for and download the appropriate driver yourself. After updating the drivers, restart your computer to see if the problem is resolved.
3. Perform Startup Repair
The Startup Repair feature resides in the Windows Recovery Environment and can fix many startup problems. Specific steps are as follows:
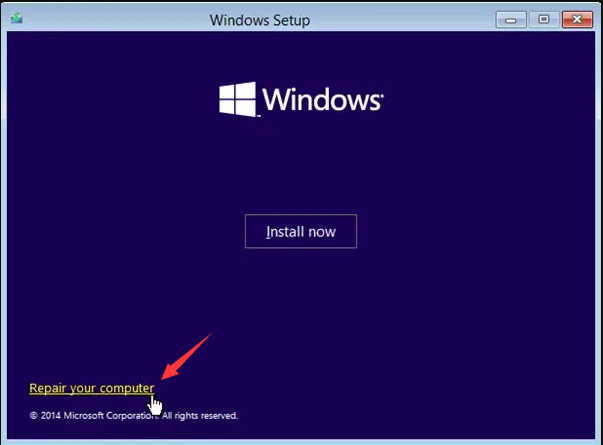
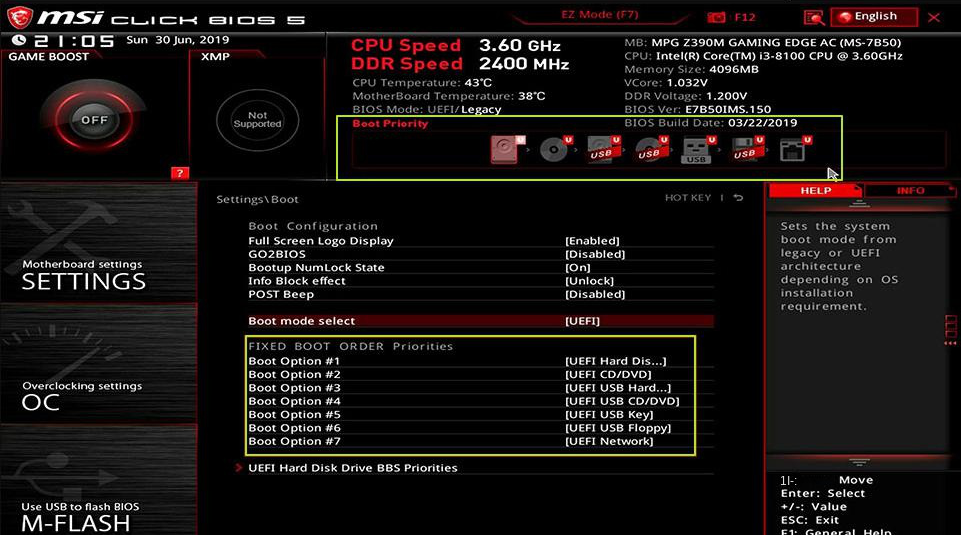
Step 1: If the blue screen error still occurs after restarting the computer, please insert the Windows 10 installation disk (DVD or U disk) into the computer. Continuously click F2 or F10 or DEL or ESC shortcut key (varies with the computer brand) to enter the BIOS setting interface when starting up, set the first boot sequence to the Windows installation disk, then save the settings, restart the computer, and make the computer start from the installation disk, Select the (Repair Your Computer) option on the Windows Installer “Install Now” screen to enter the recovery environment.
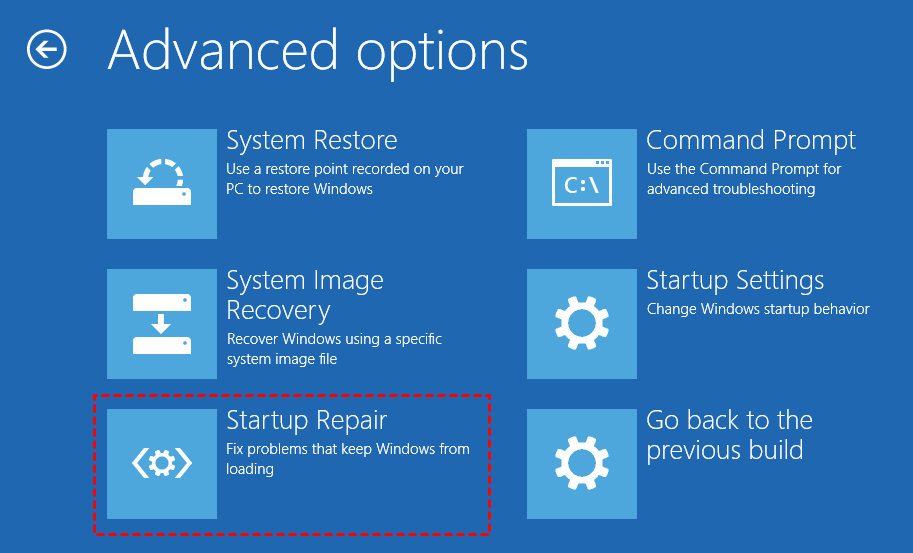
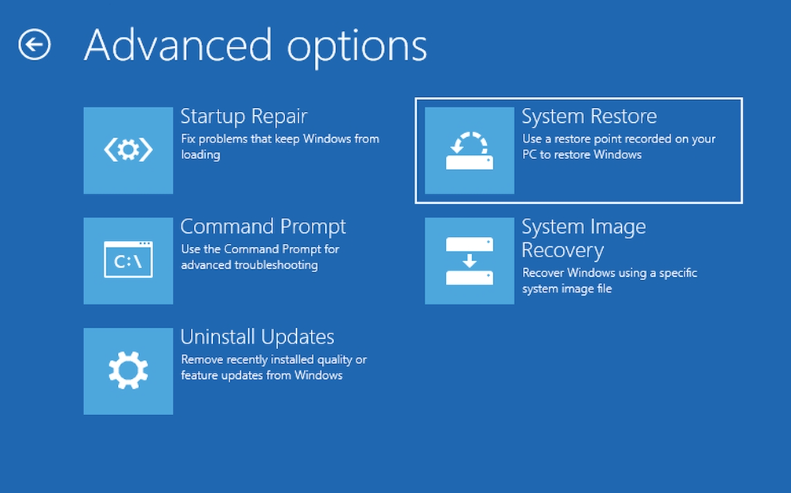
Step 2: After entering the recovery environment, select (Troubleshooting)>(Advanced Options)>(Startup Repair). After waiting for Windows Startup Repair to complete, restart the computer to see if the problem is resolved.
4. Use the Chkdsk command to scan and repair the hard disk
Bad sectors on the hard disk may also cause NETIO.SYS blue screen errors, so we can use the Chkdsk command to scan and repair the hard disk, the Chkdsk command can repair bad sectors and directory errors that may cause errors.
Step 1: Insert the Windows installation disk (DVD or U disk) into the computer. When starting up, press F2 or F10 or DEL or ESC shortcut keys continuously (varies with the computer brand) to enter the BIOS setting interface, set the first boot sequence to Windows installation disk, save the settings and restart the computer. Make the computer boot from the installation disk, and select the (Repair Computer) option on the Windows Installer “Install Now” interface to enter the recovery environment.
Step 2: After entering the recovery environment, select (Troubleshooting)>(Advanced Options)>(Command Prompt).
Step 3: After opening the command prompt, enter the Chkdsk command, for example (chkdsk C: /f /r /x) (C refers to the disk number of the system hard disk, which can be changed according to the actual situation, /f will try to repair the errors found on the disk , /x means to force unmount the drive before starting the scan; /r means to scan for and try to repair bad sectors), then press (Enter).
Step 4: If you are prompted “chkdsk cannot be run because the target disk is in use, do you want to perform the check task next time you restart your computer”, please press (Y) to agree to run Chkdsk check next time your computer restarts. After the Chkdsk check is complete, restart the computer to see if the problem is resolved.
5. Use the SFC command to scan
SFC (System File Checker) is a utility in Windows. The SFC command scans and verifies the integrity of all protected system files and replaces wrong versions with correct ones. Many troubleshooting steps recommend using the SFC command. Since the NETIO.SYS blue screen error may be related to system file corruption, you can try scanning with the SFC command. Specific steps are as follows:
Step 1: Insert the Windows installation disk (DVD or U disk) into the computer. When starting up, press F2 or F10 or DEL or ESC shortcut keys continuously (varies with the computer brand) to enter the BIOS setting interface, set the first boot sequence to Windows installation disk, save the settings and restart the computer. Make the computer boot from the installation disk, and select the (Repair Computer) option on the Windows Installer “Install Now” interface to enter the recovery environment.
Step 2: After entering the recovery environment, select (Troubleshooting)>(Advanced Options)>(Command Prompt).
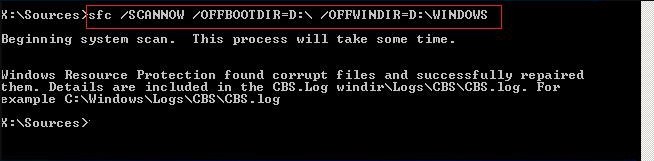
Step 3: In the opened command prompt window, enter the SFC command, such as (sfc /scannow /offbootdir=D:\ /offwindir=D:\windows), and press the (Enter) key. The scan may take approximately 5-20 minutes to complete. After the scan is complete, remove the Windows installation disk and restart the computer to see if the problem is resolved.
Note: (/scannow) in the (sfc /scannow /offbootdir=D:\ /offwindir=D:\windows) command can scan the integrity of system files and repair problematic files; (/offbootdir) is used to specify offline The location of the repaired offline startup directory; (/offwindir) is used to specify the location of the offline repaired offline Windows directory; (D:) is the drive letter of the disk where Windows is installed, and (D:\Windows) is the Windows folder can be replaced according to the actual situation.
Kind tipsIf your computer can restart smoothly, you can also search for (cmd) in the taskbar search box, right-click (command prompt) and select (run as administrator), and then enter (sfc / scannow) and wait for the command to complete.
6. Perform System Restore
Some system changes or registry damage may also cause NETIO.SYS blue screen errors. If you have created a system restore point before, you can use the system restore function to restore the system to the state when no errors occurred to solve the blue screen problem. .
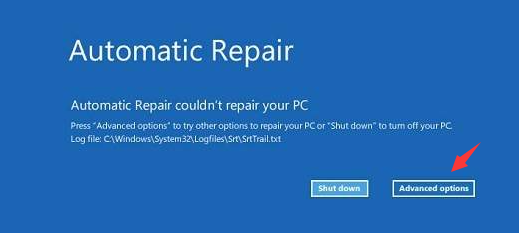
Step 1: Turn on the computer, when the computer brand logo appears, press and hold the power button to force shutdown, repeat more than 3 times, then allow the computer to fully start, select (advanced option) in the “Auto Repair” interface, the computer will enter the Windows recovery environment middle. Or use the (Repair Your Computer) option in Windows Setup to enter the recovery environment.
Step 2: When the screen displays to select an option, please click (Troubleshooting) – (Advanced Options) – (System Restore) in sequence.
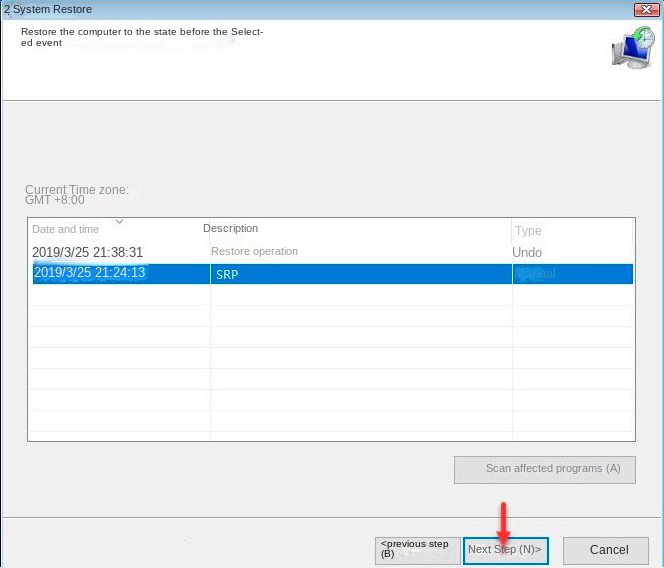
Step 3: Then, select a recent restore point before the error occurred to restore, click (Next) and wait for the restore process to complete.
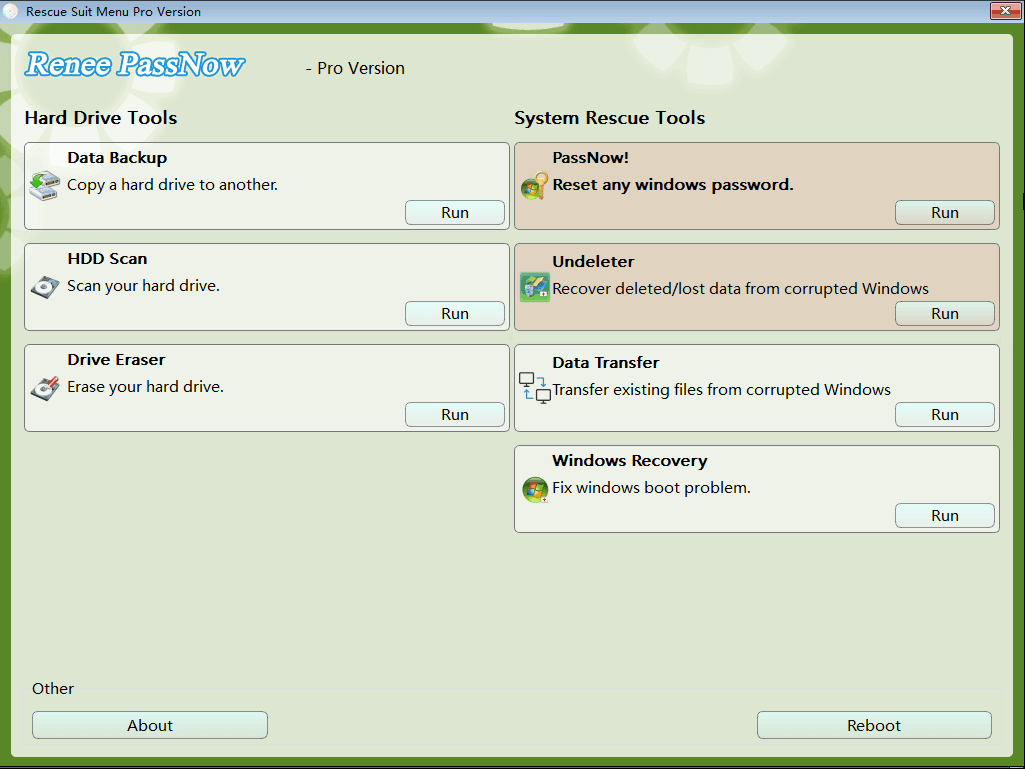
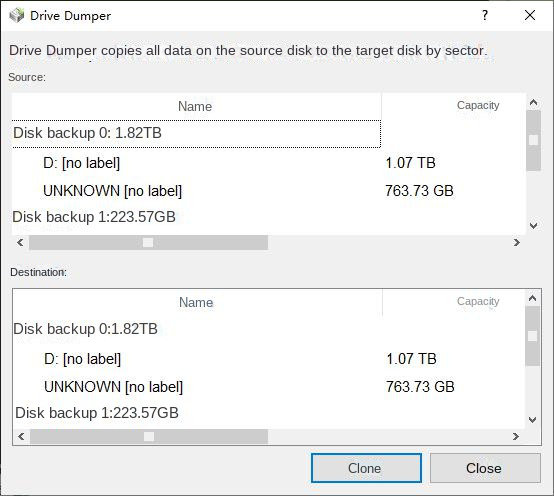
The above are several practical methods to solve the NETIO.SYS blue screen error. If the problem cannot be solved, it is recommended that you reinstall the system or reset the computer, but before reinstalling/resetting, please remember to back up important data in the computer to avoid loss. The following will introduce the data backup method when you cannot enter Windows.