II. How to fix the error that VCRUNTIME140.dll is missing?
1. Re-register the VCRUNTIME140.dll file
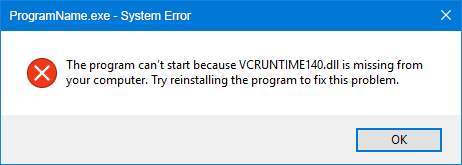
In Windows, applications often share DLL files. If an application is uninstalled and removes a shared DLL, other applications may display the error “This program cannot be started because VCRUNTIME140.dll is missing from your computer” when attempting to access it. To resolve this, re-register the DLL file with the following steps:
Step 1: Run the computer, search (cmd) in the search box in the lower left corner, and select (run as administrator) to open the command prompt tool.
Step 2: Next, in the command prompt window that opens, enter the following command to complete the process of re-registering the DLL file. After the command is executed, restart the computer, and run the application that pops up the error message to check whether the problem is resolved.
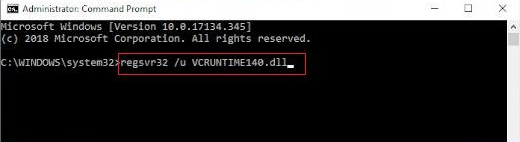
First you need to unregister the file, please type (regsvr32 /u VCRUNTIME140.dll) and press (Enter).
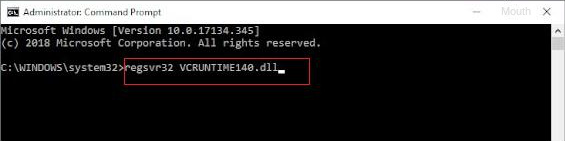
To re-register the file afterwards, type (regsvr32 VCRUNTIME140.dll) and press (Enter).
2. Reinstall Microsoft Visual C++ 2015 Redistributable
“This program cannot be started because VCRUNTIME140.dll is missing from your computer” may be caused by missing or damaged DLL files related to Visual C++, so you can try to reinstall Microsoft Visual C++ 2015 Redistributable to solve the problem. The specific operation steps are as follows:
Step 1: Run the computer and open the official download interface of Microsoft Visual C++ 2015 Redistributable (https://www.microsoft.com/en-us/download/details.aspx?id=52685) in the browser window to download the software .
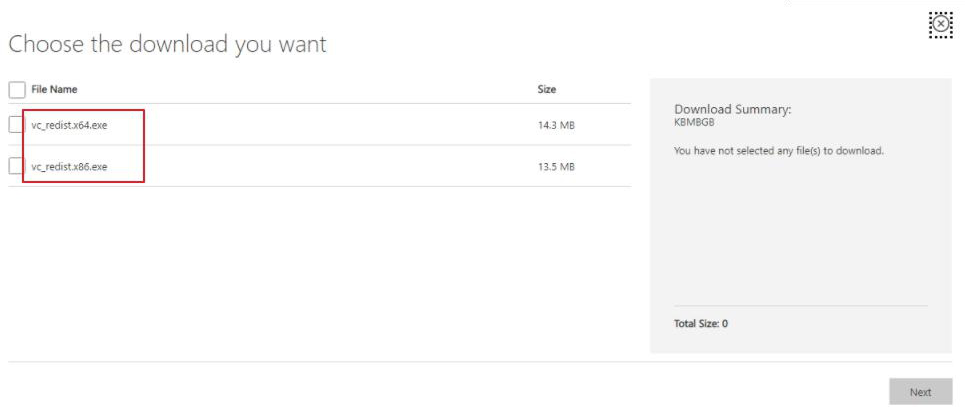
Step 2: Next, find the corresponding version to download according to the system type. Then click (Next) to proceed with the subsequent installation.
If you are using a 64-bit system, select (vc_redist.x64.exe).
If you are using a 32-bit system, select (vc_redist.x86.exe).
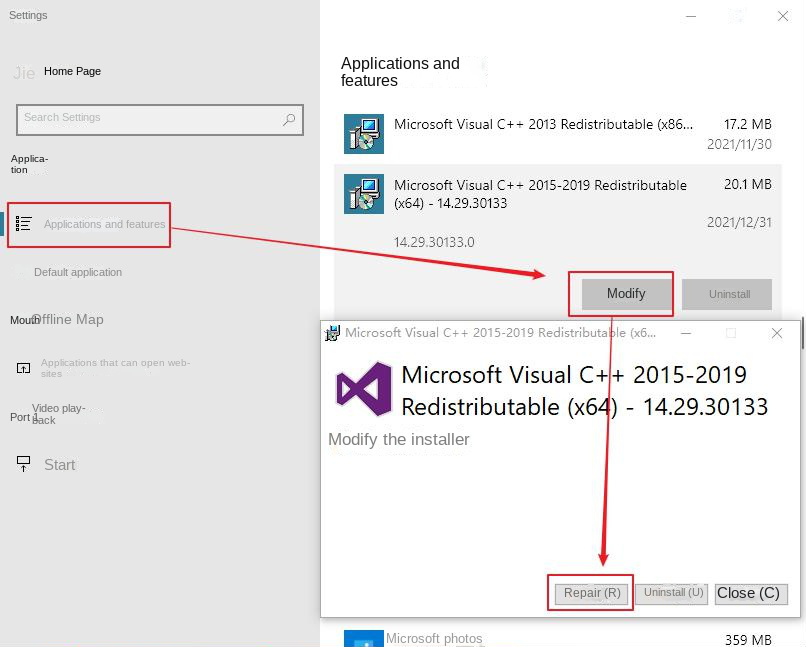
Step 3: After the installation is complete, restart the computer and open the corresponding application to check whether the problem is resolved. If it is still not resolved, you can open Windows Settings, select (Applications) – (Applications and Features), find Microsoft Visual C++ 2015 Redistributable in the application list on the right and click it, then click (Modify), and click in the new pop-up window (Repair) button, open the corresponding application again after repairing to check whether the problem is solved.
3. Use SFC to check and repair damaged system files
The loss of VCRUNTIME140.dll may also be related to system file corruption, and the SFC command can effectively scan all protected system files in the system and repair the corresponding problems. The specific operation steps are as follows:
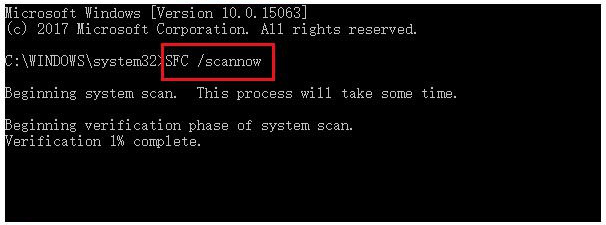
Step 1: Run the computer, search (cmd) in the search box in the lower left corner, and select (run as administrator) to open the command prompt tool.
Step 2: In the opened command prompt window, enter the command (SFC /scannow) and press the (Enter) key. Next, System File Checker performs a system scan and fixes problematic system files. After the repair is complete, restart the computer and try to open the current application again to see if the problem is resolved.
4. Download and manually replace the VCRUNTIME140.dll file
If the error occurs only in a specific application, you can try to manually download the VCRUNTIME140.dll file and place it in the application’s directory. This way you can quickly and easily fix application errors without resorting to more cumbersome system operations. However, the downloaded DLL file needs to be 64-bit or 32-bit according to the version of the application. You can check the following distinction method to judge.
How to tell whether a computer application is 64-bit or 32-bit?
A 64-bit operating system can run both 64-bit and 32-bit applications, while a 32-bit operating system can only run 32-bit applications. If you are using a 64-bit system, you can right-click the Windows taskbar when running the application, select (Task Manager), you can see the running program in (Process), if it is a 32-bit application, it will Mark 32 bits after the application name, such as Microsoft Word (32 bits).
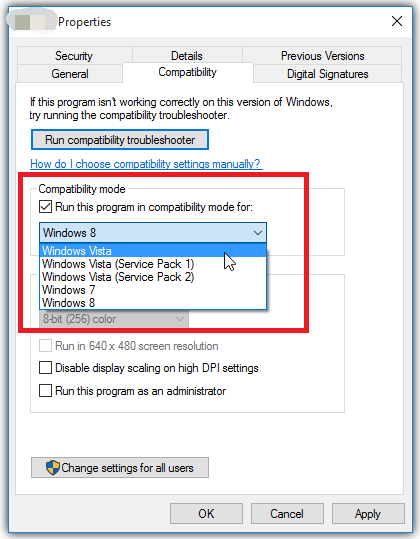
In addition, applications that are not marked as 32-bit are not necessarily 100% 64-bit. You can open the installation folder of the application, right-click the exe file in it, and select (Properties)-(Compatibility). If you cannot check (simplified color mode) and (run with 640*480 screen resolution) options, and there are fewer compatible systems, only compatible with Windows Vista to Windows 8, which means it is a 64-bit program; and 32-bit programs can check the above two options, and there are many compatible systems, all systems from Windows 95 to Windows 8 are compatible.
After you have determined the version of the application, you can follow the steps below.
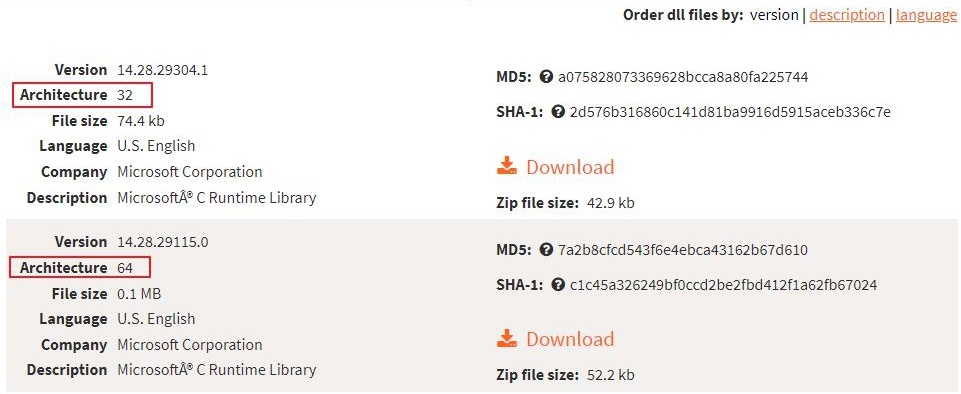
Step 1: Download the VCRUNTIME140.dll file from the DLL-Files website (download address: https://www.dll-files.com/vcruntime140.dll.html). Choose the 64-bit or 32-bit version depending on your application type.
Step 2: You will download a .zip file which can be unpacked using applications like WinRAR and 7zip. After decompressing the file, drag the “vcruntime140.dll” file to the installation directory of the problematic application.
Step 3: If prompted whether to replace the file, confirm to replace the original file in the destination folder.
Step 4: After manually replacing the VCRUNTIME140.dll file, run the application to check if the problem is resolved.
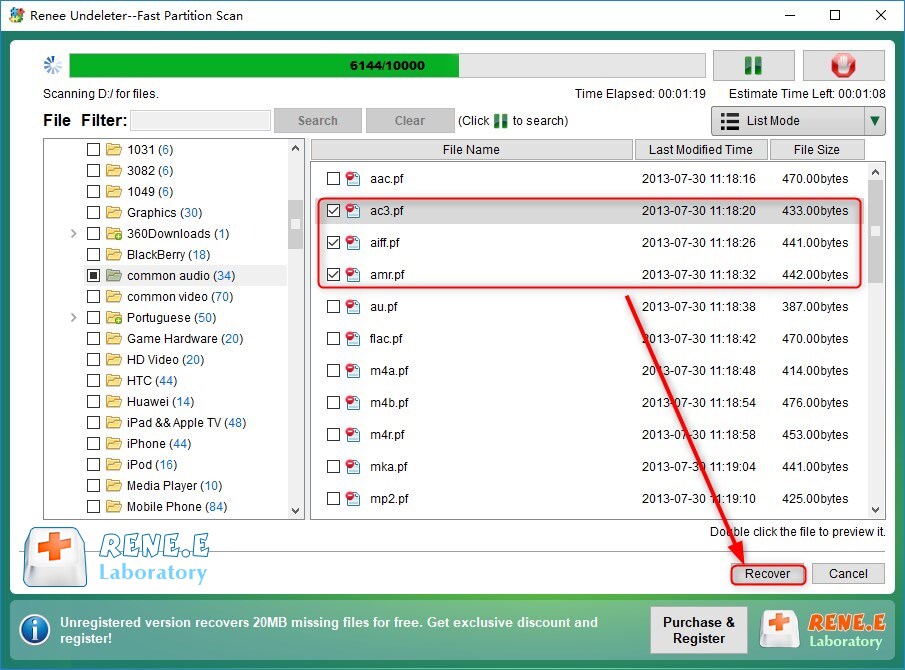
The above are several solutions to fix the error “This program cannot be started because VCRUNTIME140.dll is missing from your computer”. If you accidentally delete an important file while using the computer, you can also use the content of the third part below to retrieve the lost data, let’s continue to learn.