

Where Do Deleted Files Go? Exploring the Different Paths

Summary
Discover the truth about where your deleted files actually go on a computer. From the Recycle Bin to cloud storage, explore the different paths that deleted files can take and learn how to recover them. Don't let your files disappear without a trace- read on to uncover the mystery of deleted files.
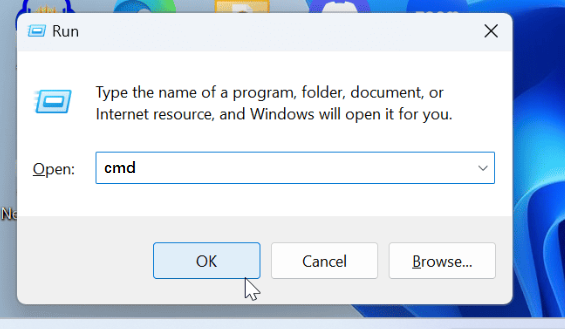
winfr source: destination
winfr C: C:\Users\YourUsername\Desktop

Easy to use Recover data by 3 steps;
Multiple scan modes Fast partition scan, whole partition scan and whole disk scan;
Supported file types Image, video, audio, text, email and so on;
Image creation Create a partition image to read and back up data;
Supported devices SD card, SDHC, SDXC, USB flash drive, hard disk and computer.
Easy to use Recover data by 3 steps;
Multiple scan modes Fast partition/whole partition/whole disk scan;
Supported devices SD card/USB/hard disk.
Free TrialFree TrialFree Trial 800 people have downloaded!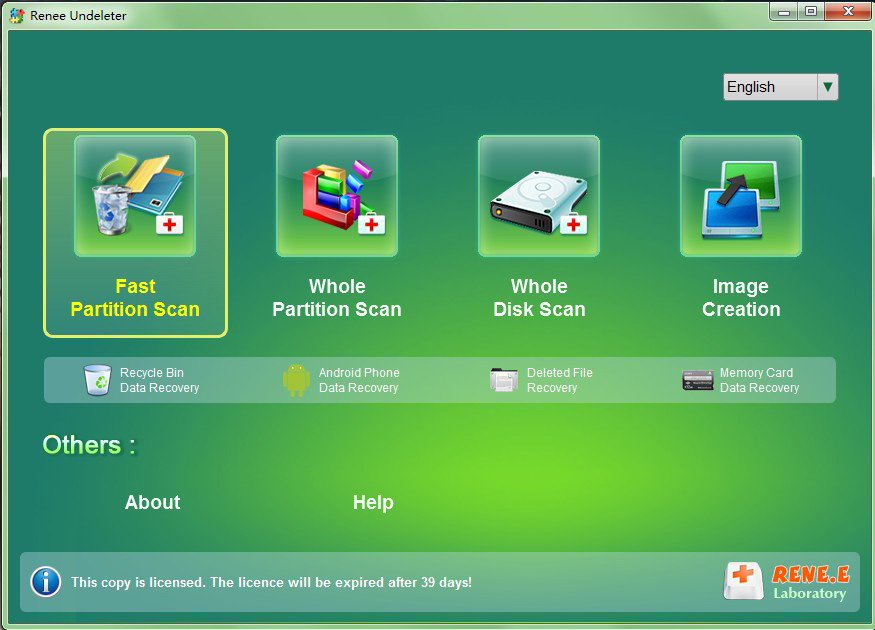


- An active restore point must exist for the file or folder you want to recover. In order to create new restore points, go to “Control Panel > System and Security > System > System Protection” and click on “Create” to create a new restore point.
- Files or folders deleted from external devices may not go to the Recycle Bin. This could result in the permanent deletion of the files, so it is important to be cautious while deleting files from external devices.
- The Recycle Bin has limited storage space. Once the space is filled, older files will be automatically deleted to make room for newer ones. Therefore, it is important to regularly empty the Recycle Bin to avoid permanent deletion of important files.
Step 2: Select the “Albums” tab at the bottom.
Step 3: Scroll down and select the “Recently Deleted” album.
Step 4: Select the photos or files you want to recover.
Step 5: Click on “Recover” to restore the files to their original location.
Relate Links :
Navigating USB Device Data Deletion: Where Do Deleted Files Go?

14-11-2023
Amanda J. Brook : Learn the truth about where your deleted USB files actually go and how you can retrieve them with...
Uncovering the Mystery: Where Do Deleted Files Go in Windows 10?

13-11-2023
John Weaver : Are you wondering where your deleted files go in Windows 10? This article will guide you through the...
Where do Missing OneDrive Files Go?
15-11-2023
Ashley S. Miller : Discover the journey of your OneDrive files after deletion, including how they end up in the Recycle Bin...
Crack Your Way In: Unlocking Windows XP with These Password Bypass Methods
14-11-2023
Ashley S. Miller : Locked out of your Windows XP system due to a forgotten password? Don't worry, we've got you covered....
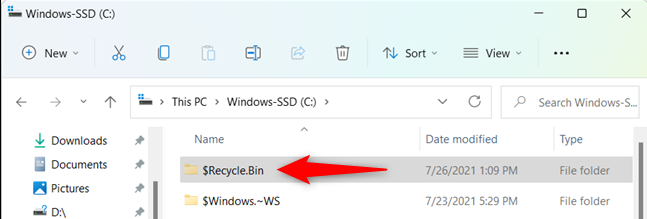
- Understanding the Recycle Bin
- Where deleted files go in Windows
- Recover using Windows File Recovery (after empty recycle bin or Shift + Del)
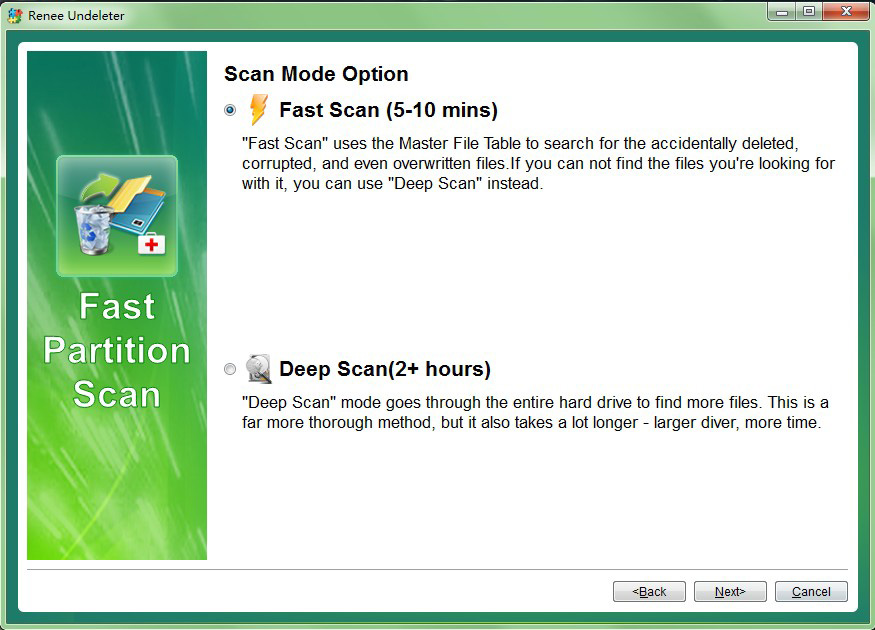
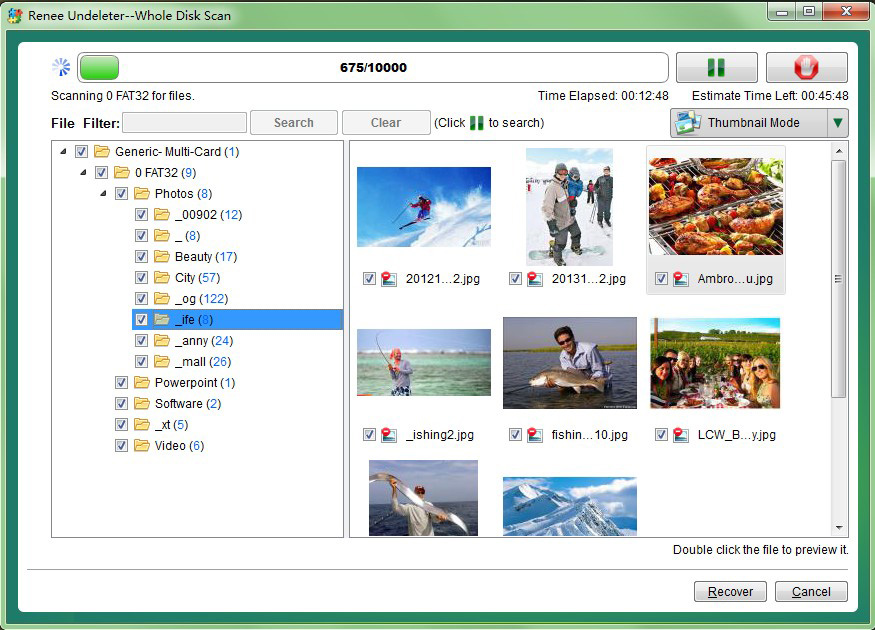
- Using Renee Undeleter for file recovery (after empty recycle bin or Shift + Del)
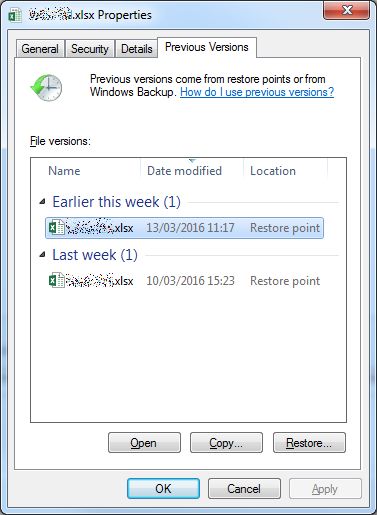
- Recovering files from Previous Version in Windows 10
- Exploring Cloud Storage Options
- Where deleted files go in cloud storage (Onedrive / Dropbox / Google Drive)
- Where do deleted files go on different devices? (Linux/MacOS/Android/iPhone)
- Conclusion

