author avatar
    Senior Program Developer
 

Summary
Many users complain that they fail to check the hard disk and they receive the error “The disk check could not be performed because Windows cannot access the disk”. How to fix this error? In this essay, we will provide you with three solutions.
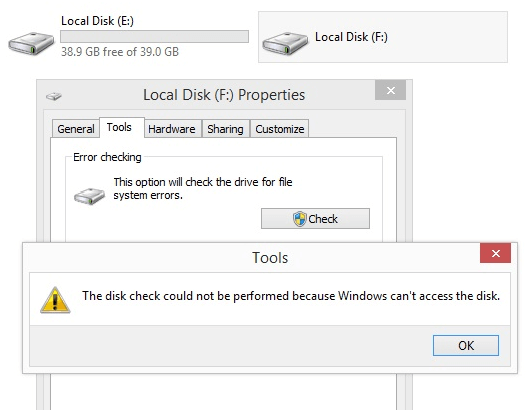


If you get the error “The disk check could not be performed because Windows cannot access the disk”, you should consider whether there is something wrong in Windows File Explorer, improper operations, cable connection or installed applications.
the disk check could not be performed because windows cannot access the disk

Solution 1: Check Connection between Hard Disk and Computer
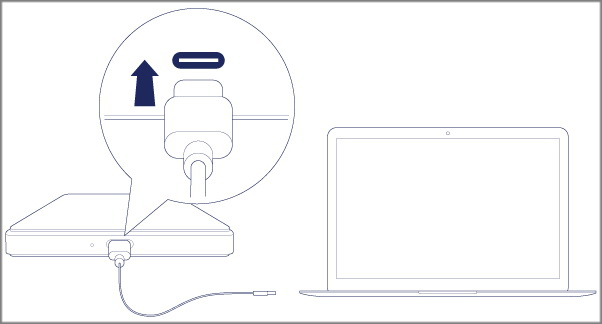
The faulty cable connection means Windows cannot access the disk and then the disk check could not be performed. Therefore, you should confirm the cable connection at first. If the target device is an external hard disk, you can plug it to the other ports or change the other cables. Then, you can restart the computer and see whether the disk check can run or not. Besides, you should ensure the power supply because the insufficient power supply can block Windows to access the disk.
the disk check could not be performed because windows cannot access the disk
Hot Topic - ADsRenee Undeleter - Professional Data Recovery Software

Easy to use Only simple steps to recover data from storage devices.

Multiple scan modes Fulfill different data lost and recovery needs.

File types Recover pictures, videos, audios, documents, mails, etc.

Supported storage devices Recover data from recycle bin, SD card, external disk, etc.

Supported System Windows 10, 8.1, 8, 7, Vista, XP, 2000 and Mac OS X10.6, 10.7, 10.8.

Easy to use Simple steps to recover data

Recover different file formats Support to recover multiple file types

Support different devices Recover data from multiple storage devices

Free TrialFree TrialFree Trial 1000 users have downloaded and recovered data back!

Solution 2: Change Driver Letter Assigned to Faulty Hard Disk
If you receieve the error “the disk check could not be performed because windows cannot access the disk”, you can try to change the drive letter. Every hard drive connected to the computer will be assigned with a specific letter of the alphabet, called as driver letter. But you can reassign the letter. Here are steps:
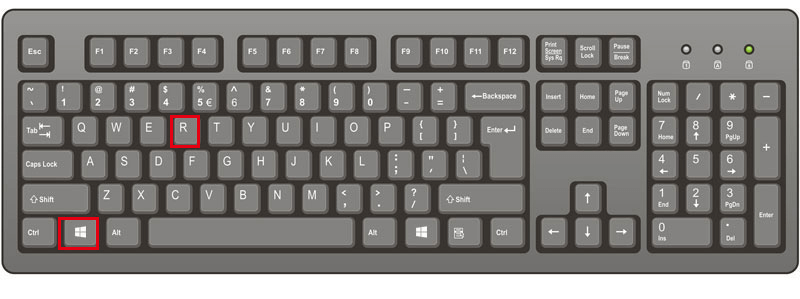
① Press [Win + R] to open Run.
press the keys win+r
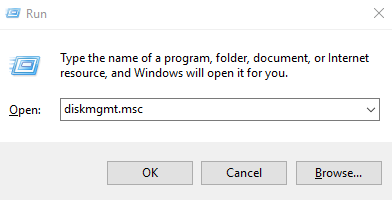
② Type [diskmgmt.msc] into the Run dialog and press Enter to launch Disk Management.
run disk management
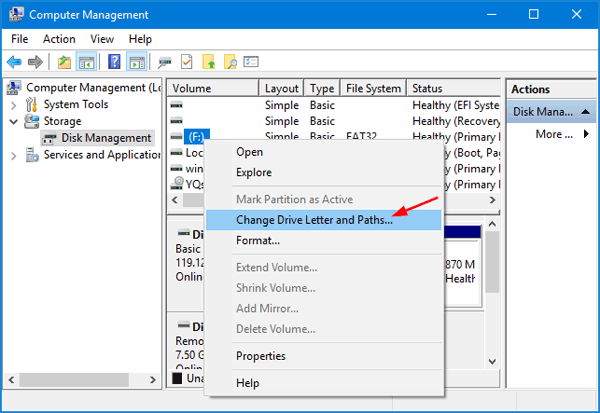
③ In the list of hard disks, right-click at the target hard disk and select [Change Drive Letter and Paths].
change drive letter in disk management
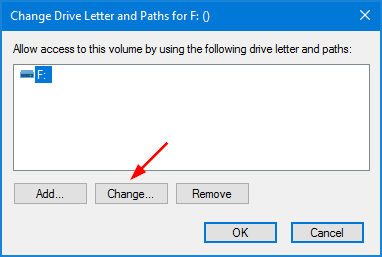
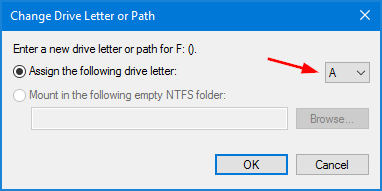
④ In the pop-up window, highlight the target letter and click [Change]. Then, expand the menu [Assign the following driver letter] and select a new letter. Finally, click [OK] and restart the computer.
click to change a letter for the disk
assign a new drive letter for the disk

Solution 3: Fix Disk Error in Command Prompt
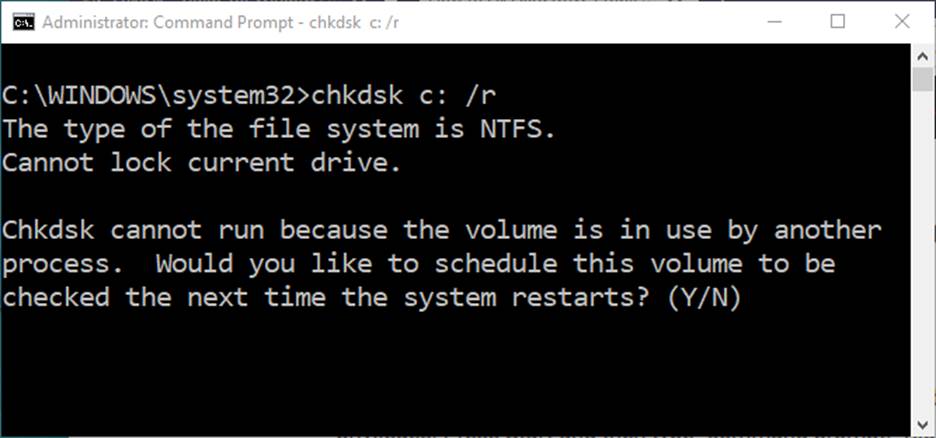
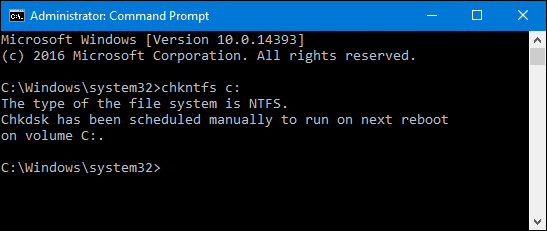
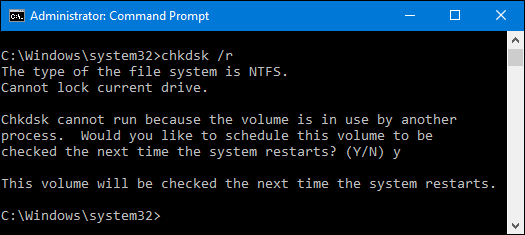
If you cannot get access to the hard disk in Windows, you shold try to fix the disk error in Command Prompt. The order “chkdsk c: /r” is the order to scan disk C and fix the errors. You can amend the disk label according to your need. 

type c to check the c disk

Tips The CHKDSK order focuses on the logical errors and the bad sectors in a disk. Once it scans out the bad sectors, it will automatically fix them but cause data loss.
If you are worried about the data loss, you can recover all data and save them in the other disks when you are going to run the CHKDSK command. At this moment, you can draw support from Renee Undeleter. Here is the tutorial of Renee Undeleter:
Renee Undeleter - Powerful Data Recovery SoftwareRenee Undeleter data Recovery software

Easy to use Only simple steps to recover data from storage devices.

Multiple scan modes Fast partition scan, whole partition scan and whole disk scan for different recovery needs.

File types Support to recover pictures, videos, audios, documents, mails, etc.

Supported storage devices Recover data from recycle bin, SD card, external disk, etc.

Supported systems Windows 10, 8.1, 8, 7, Vista, XP, 2000 and Mac OS X10.6, 10.7, 10.8.

Easy to use Only simple steps to recover data from storage devices.

Multiple scan modes - 3 scan modes for different recovery needs.

Supported storage devices Recover data from recycle bin, SD card, external disk, etc.
Free TrialFree TrialFree Trial

3000 users have downloaded Renee Undeleter and found data back!

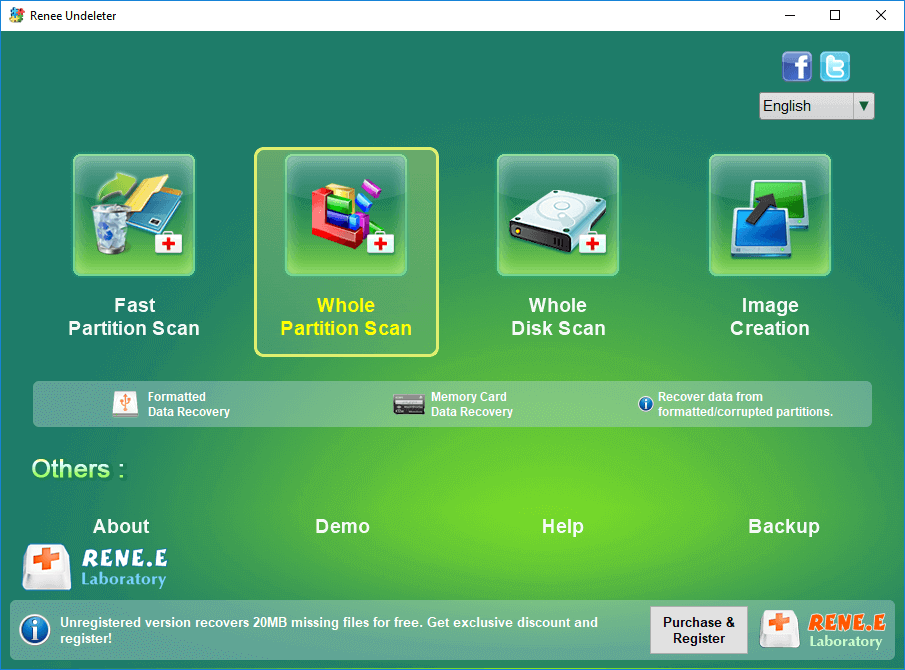
① In the main interface, select [Whole Partition Scan]. This function can recover data from the disk whose file system has been severely damaged.
select whole partition scan in renee undeleter to recover deleted video from sd card
② Select the target hard drive and click [Next] to go on.
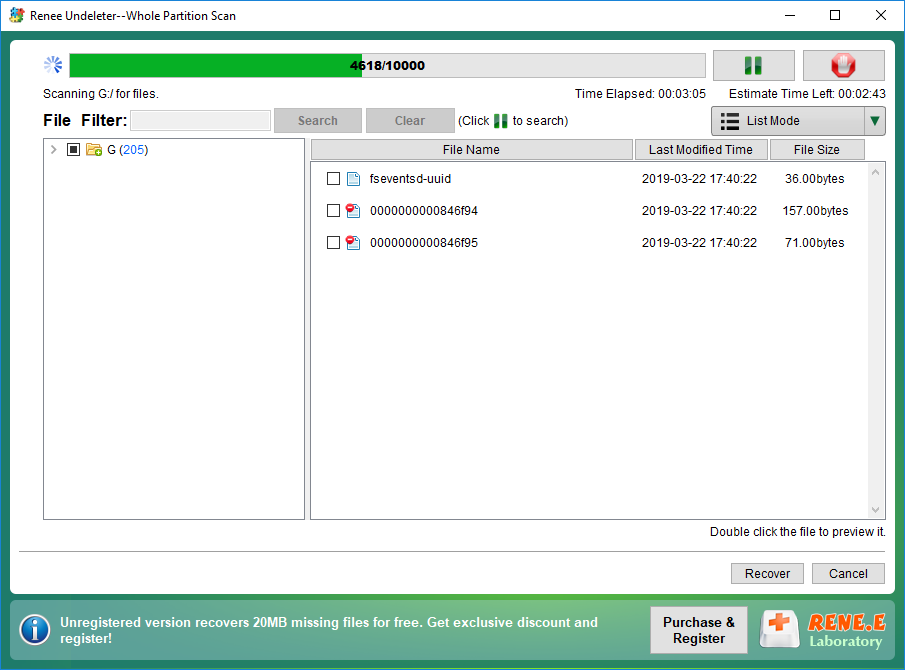
③ Wait for scanning. The scan time depends on the capacity of the disk. It takes a longer time to scan the larger disk.
scan and preview files to recover
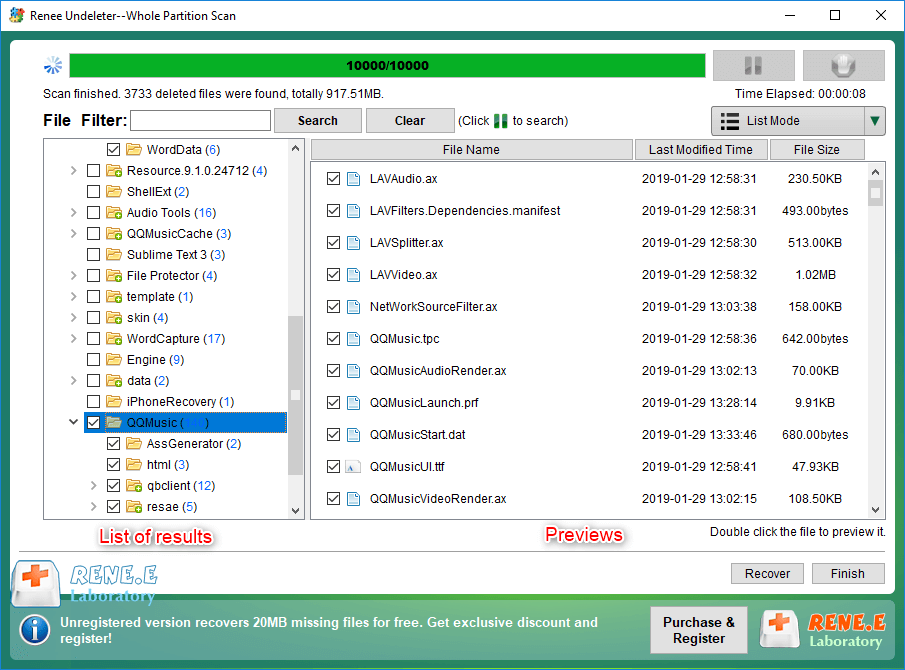
④ At last, the results will be shown at the left pane. Double-click to preview them and check the target files. Click [Recover] to save them.
preview and select the files to recover in renee undeleter
When all data have been recovered, you can fix the disk errors.

① Search [command prompt] in Windows search box. Then, right-click at it and select [Run as administrator].
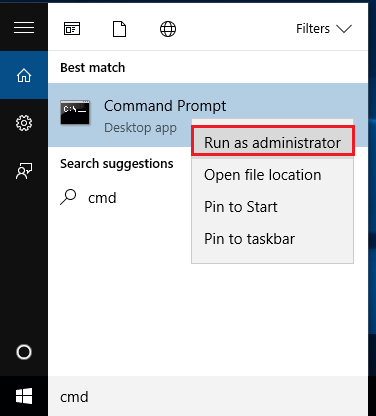
run command prompt as administrator in start menu
② In Command Prompt, type [C:].

Note: “C:” is the drive letter which can change based on your needs. Then, type the command [chkdsk /r] and press Enter to begin fixing the errors.
type c to check the c disk
press enter to run chkdsk r to fix errors
③ Finally, restart the computer.