

How to Recover Formatted Files from USB

Summary
Formatted USB but find some files important and forget to backup? Don't worry. Get more information about how to recover formatted files from USB now!
More about the Professional Data Recovery Software

Easy to use Only simple steps to recover data from storage devices.
Multiple scan modes Fast partition scan, whole partition scan and whole disk scan for different recovery needs.
File types Support to recover pictures, videos, audios, documents, mails, etc.
Supported storage devices Recover data from recycle bin, SD card, external disk, etc.
Supported systems Windows 11,10, 8.1, 8, 7, Vista, XP, 2000 and Mac OS X10.6, 10.7, 10.8+.
Easy to use Only simple steps to recover data from storage devices.
Multiple scan modes - 3 scan modes for different recovery needs.
Supported storage devices Recover data from recycle bin, SD card, external disk, etc.
Steps of How to Recover Formatted Files from USB
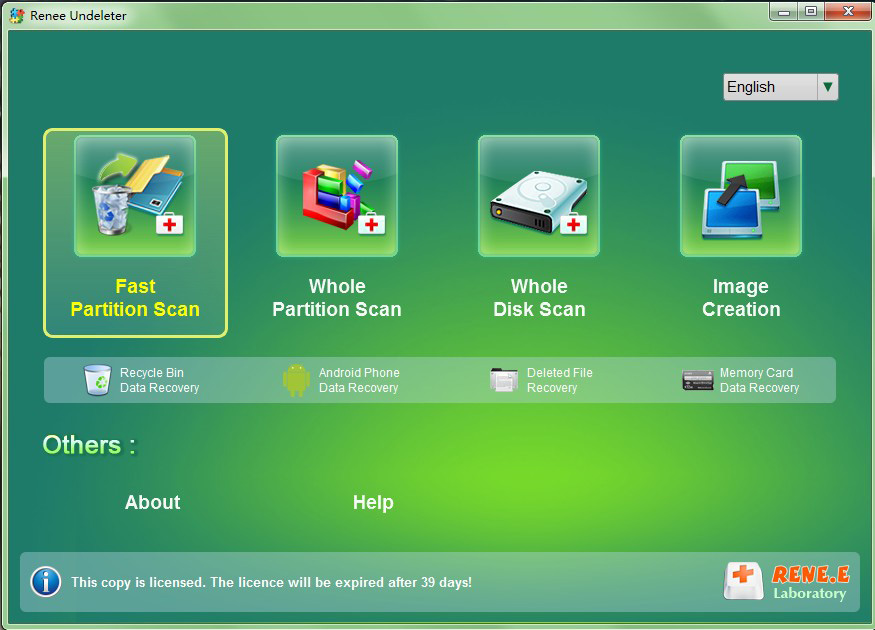
1. Select Fast Partition Scan
- Fast Partition Recovery – Recover the files after emptying Recycle Bin or deleted by mistake without data backup.
- Whole Partition San – Scan the whole partition and list all files. Especially for the formatted partition or unavailable access issue. Also it’s the supplement way to the Fast Partition Scan.
- Whole Disk Scan – Scan the entire disk to find out all partitions’ information and to simulate the partition table. Then, deeply scan each partition.
- Image Creation – Clone a partition image which can be used in case that reading partition is slow or need a backup.
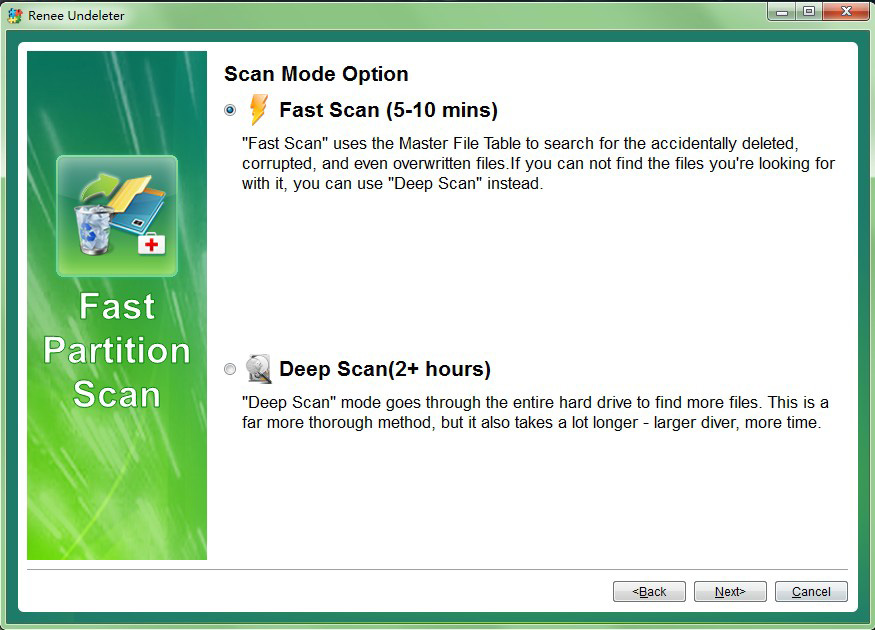
2.Select “Fast Scan“ in “Scan Mode Option“
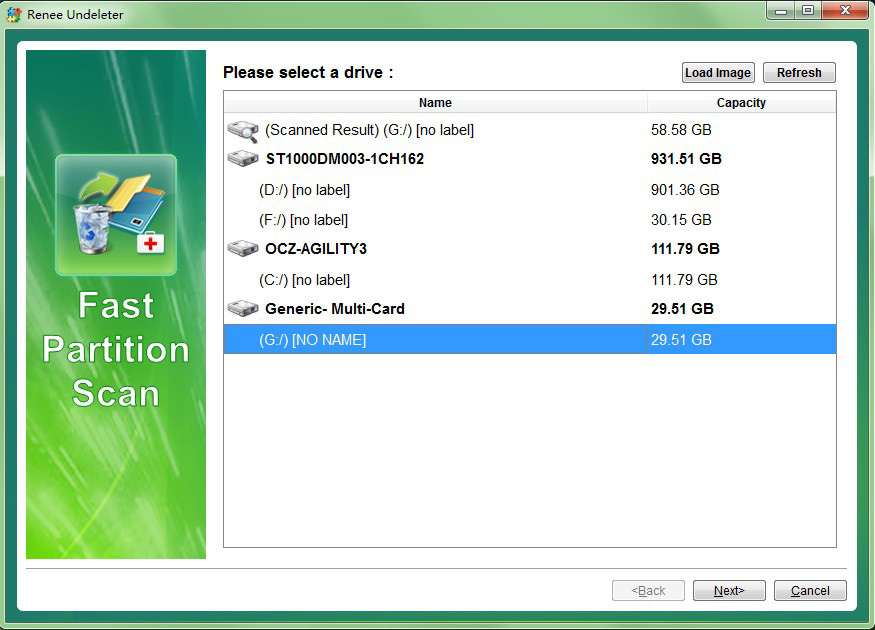
3. Select the drive you want to recover and click “Next”.
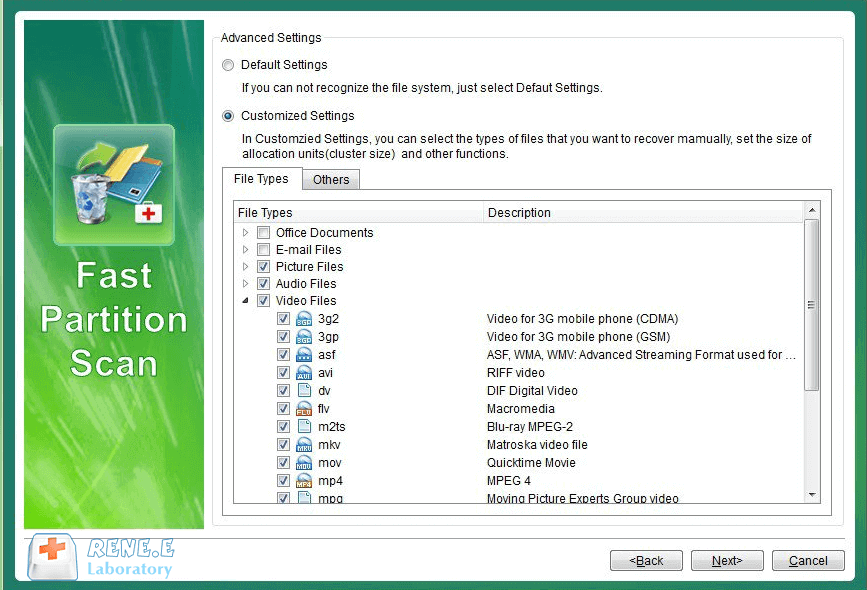
4. Select the file types that you want to recover.
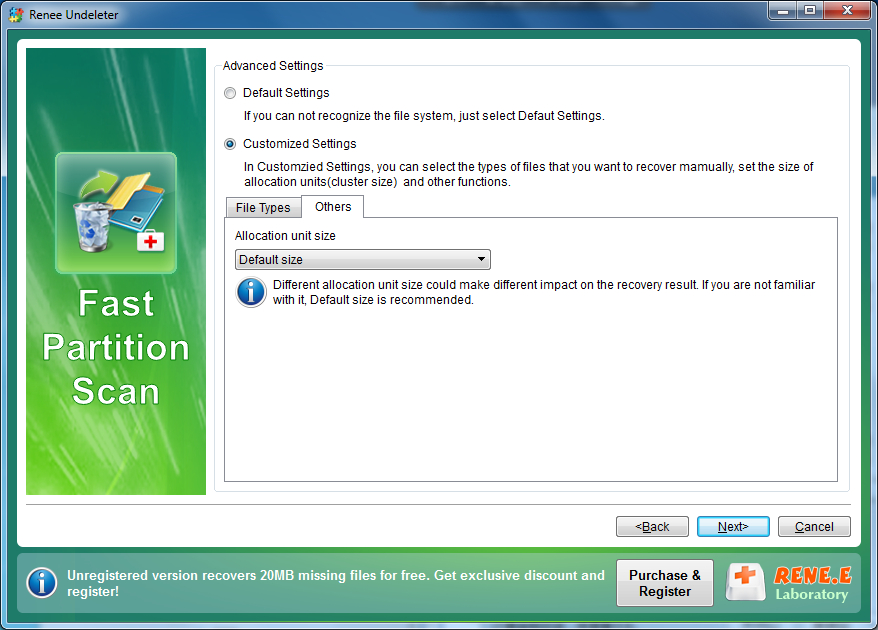
Step 5: Select “Others” and choose 512MB in “Allocation Size”. Then click “Scan”.
Step 6: Preview the files you want to recover and recover it.


