How to Fix Windows Error Code 80070103 with Ease?
- Home
- Support
- Tips Data Backup
- How to Fix Windows Error Code 80070103 with Ease?
Summary
Resolve Windows error code 80070103 with practical solutions. Backup crucial data to prevent loss from hardware or software failures.
Table of contents
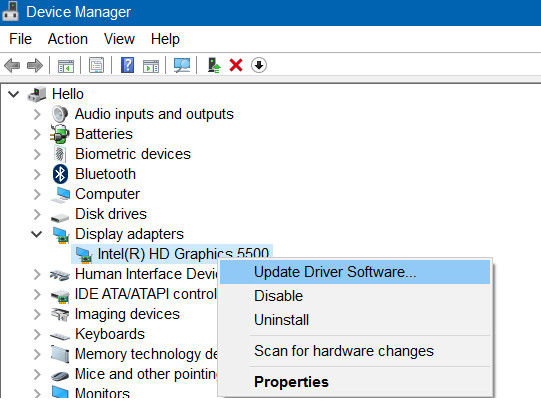
devmgmt.msc), and click (OK).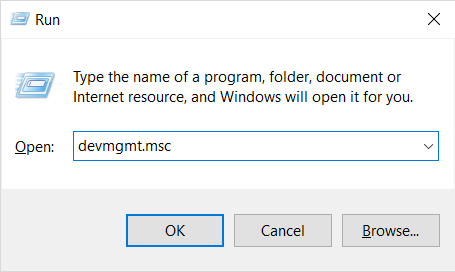


Quick Backup files at up to 3,000MB/min.
Fullfill different backup needs Supports system backup, disk / partition backup, file backup and disk clone.
Intelligent Automatically analyze the differences between source and backup data.
Convenient Support VSS, allowing to freely view webpages when backing up system.
Highly compatible Supports various files and storage devices.
Quick Backup files at up to 3,000MB/min.
Fullfill different backup needs Backup for disk, partition and system. Save disk space by backing up incremental /differential data.
Highly compatible Supports various files and storage devices.
Relate Links :
How to Restore System Backup by Renee Becca
27-05-2022
Amanda J. Brook : Detailed steps about how to restore the backup system to original system disk without Windows.
Best Free Backup Software – Renee Becca
14-06-2022
Jennifer Thatcher : Step by step process of how to backup partition/disk with the best free backup software - Renee Becca....
How to delete EFI partition in a few steps?
02-01-2024
Ashley S. Miller : Learn the definition and function of the EFI system partition and how to delete EFI partition. Back up...
How to Convert Dynamic Disk to Basic Disk without Data Loss?
28-07-2023
Jennifer Thatcher : Learn how to convert a dynamic disk to a basic disk in Windows system in just a few...
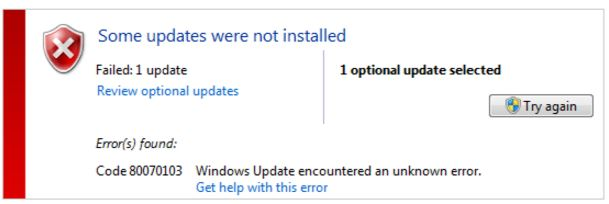
- I. About Windows error code 80070103
- II. How to fix error code 80070103?
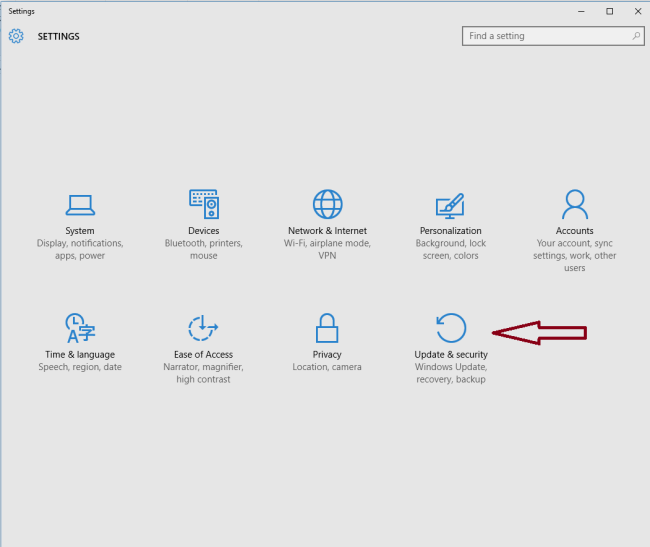
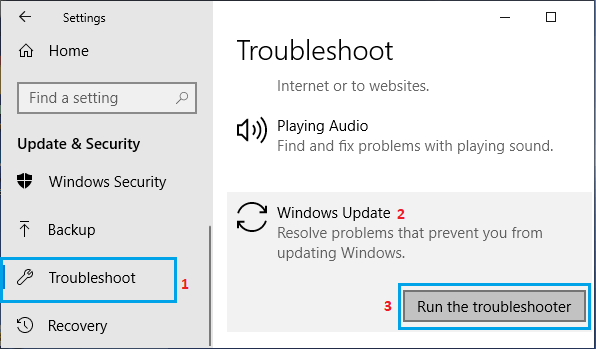
- 1. Run the Windows Update Troubleshooter
- 2. Manually update or reinstall the driver
- 3. Change the device installation settings
- 4. Check and clean virus/malware
- III. (Extended information) Backup computer data to avoid data loss
- 1. What is Renee Becca
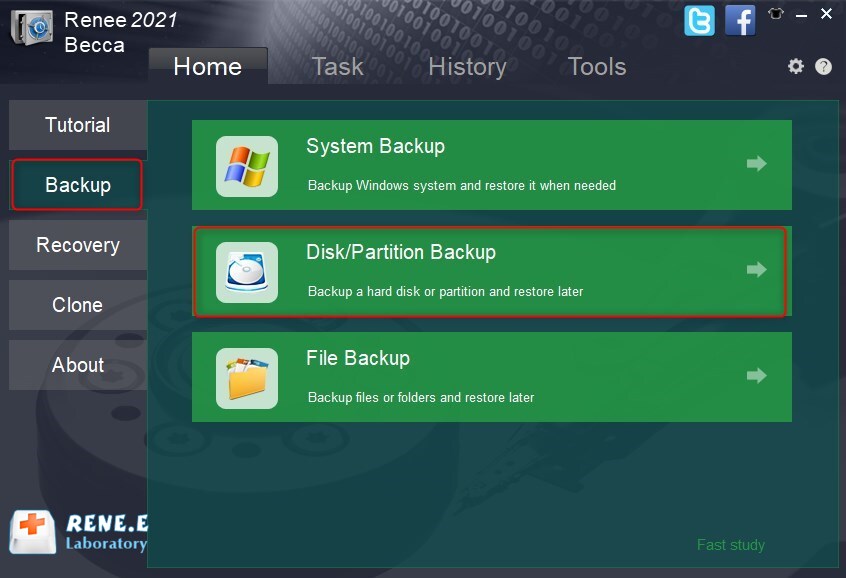
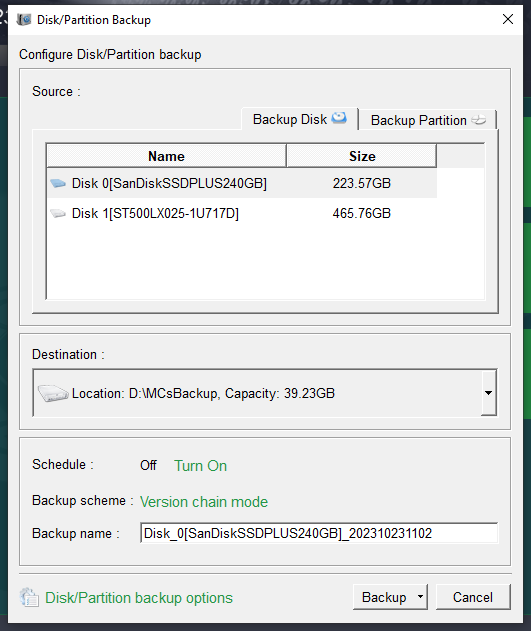
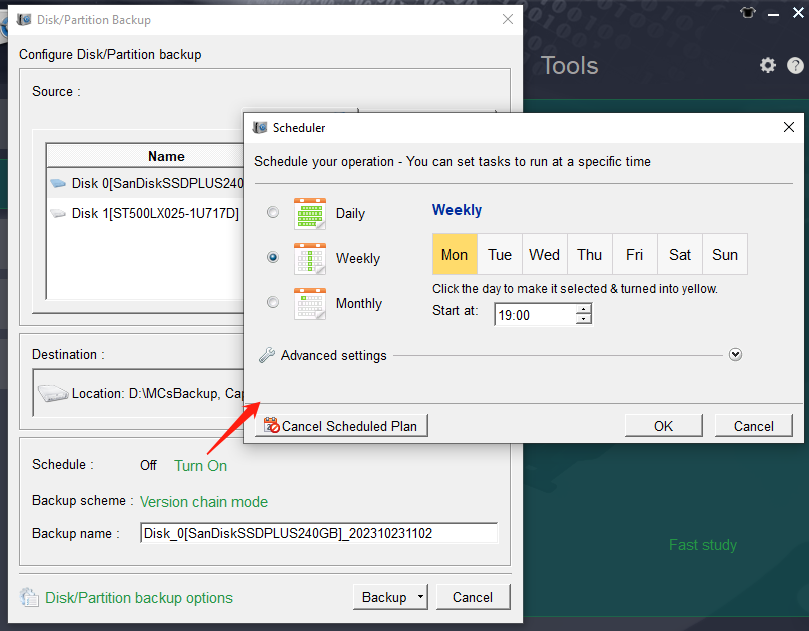
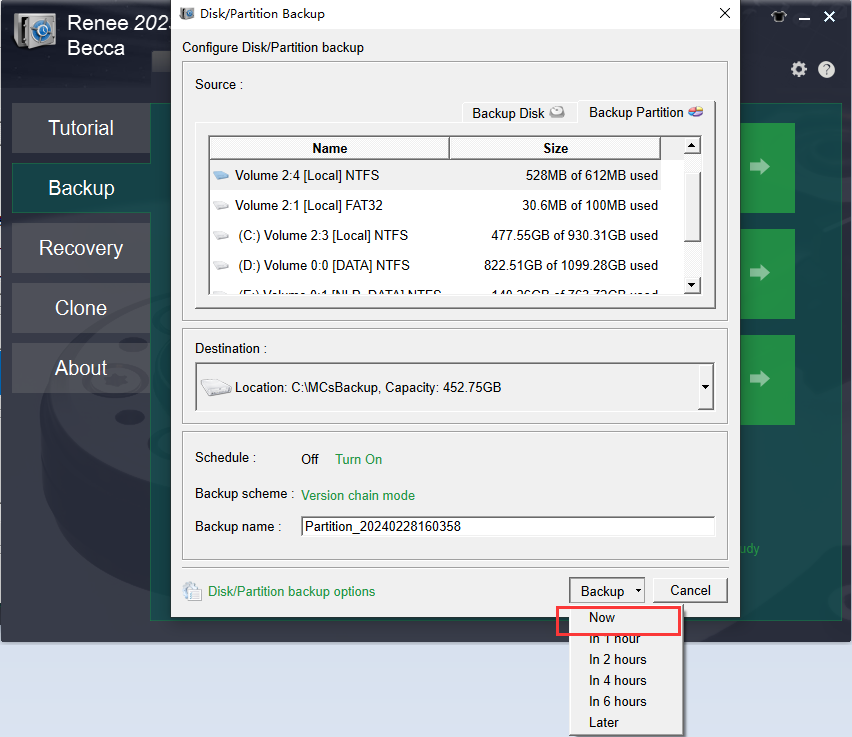
- 2. How to use Renee Becca to backup computer data?


