Move Your Windows 10 OS to a New Drive: A Step-by-Step Guide
- Home
- Support
- Tips Data Backup
- Move Your Windows 10 OS to a New Drive: A Step-by-Step Guide
Summary
Moving a Windows 10 operating system to a new drive involves backing up your files, cloning the operating system using a migration tool, adjusting the boot order, and testing whether the migration was successful. You can read this article for more details.
Additionally, it is essential to double-check your backup files to ensure they are complete and functional. Performing a trial restoration of a few files can help confirm that your backup is accurate and reliable. This step provides peace of mind, knowing that you have a complete and error-free backup before proceeding with the transfer.

Automatic 4K alignment Improves SSD performance during system migration.
Support GPT and MBR Automatically adapt to the suitable partition format.
Support NTFS and FAT32 Redeploy various files in different file systems.
Back up quickly Back up files at up to 3,000MB/min.
Overall backup schedule Support system redeployment/system backup/partition backup/disk backup/disk clone.
Automatic 4K alignment Improve SSD performance
Support GPT and MBR Intelligently adapt to a partition format
Support NTFS and FAT32 Redeploy files in different file systems
Free TrialFree TrialNow 2000 people have downloaded!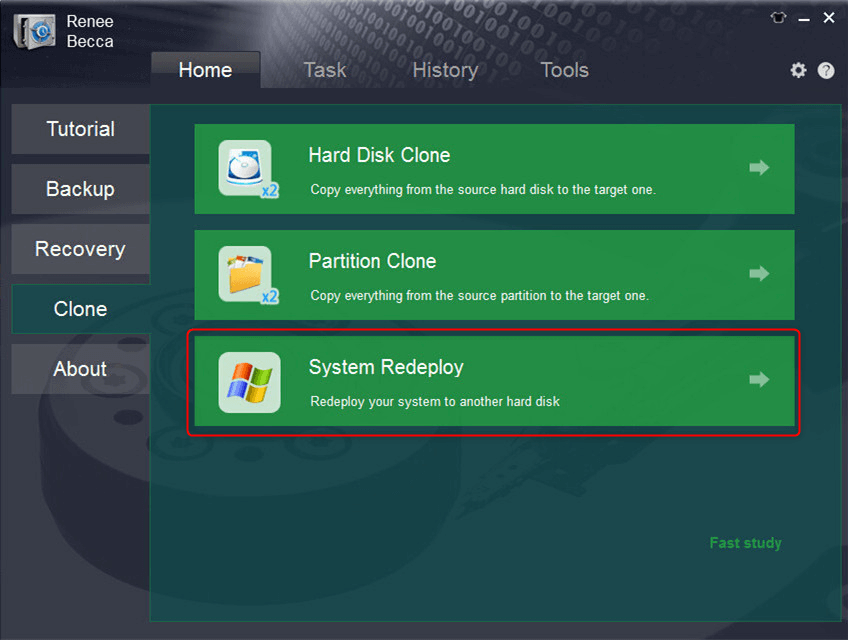
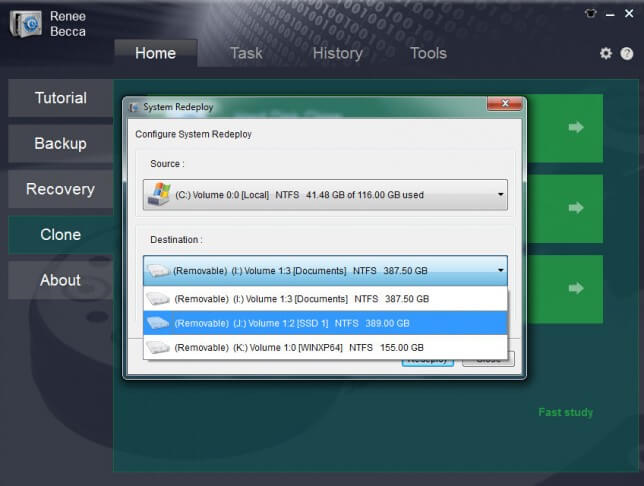
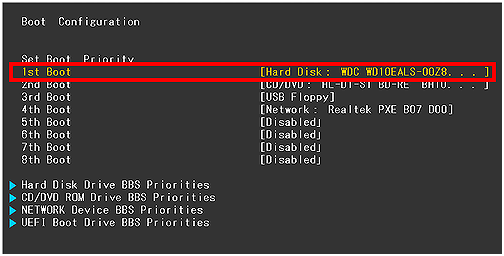
- Seamless transition without the risk of losing any important data
- Reliable data backup software
Cons:
- Paid software
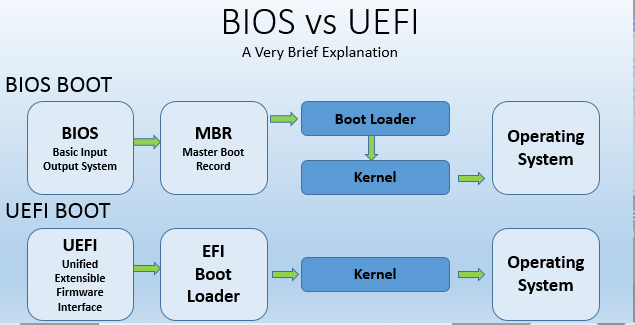
| BIOS Name | Method | The Key or Keys |
|---|---|---|
| Acer | Press Del or F2 immediately after powering on | Del/ F2 |
| Compaq | Press F10 while the cursor in the top right corner of the screen is blinking | F10 |
| Dell | Press F2 when the Dell logo appears/ or press every few seconds until the message Entering Setup appears | F2 |
| eMachines | Press Tab or Del while the eMachine logo displays on the screen | Tab/ Del |
| Fujitsu | Press F2 once the Fujitsu logo appears | F2 |
| Gateway | Press the F1 key repeatedly after restarting the computer | F1 |
| HP | Press the F1/ F10/ or F11 key after restarting the computer | F1/ F10/ F11 |
| IBM | Press F1 immediately after powering on the computer | F1 |
| Lenovo | Press F1 or F2 after powering on the computer | F1/ F2 |
| Nec | Press F2 to enter the BIOS Setup | F2 |
| Packard Bell | Press F1/ F2/ or Del to enter BIOS | F1/ F2/ Del |
| Samsung | Press F2 to start the BIOS setup utility | F2 |
| Sharp | Press F2 after the computer starts | F2 |
| Sony | Press F1/ F2/ or F3 after turning on the computer | F1/ F2/ F3 |
| Toshiba | Press F1 or Esc after powering on to access BIOS | F1/ Esc |
| ARLT | Press Del or F11 when the respective message is shown | Del/ F11 |
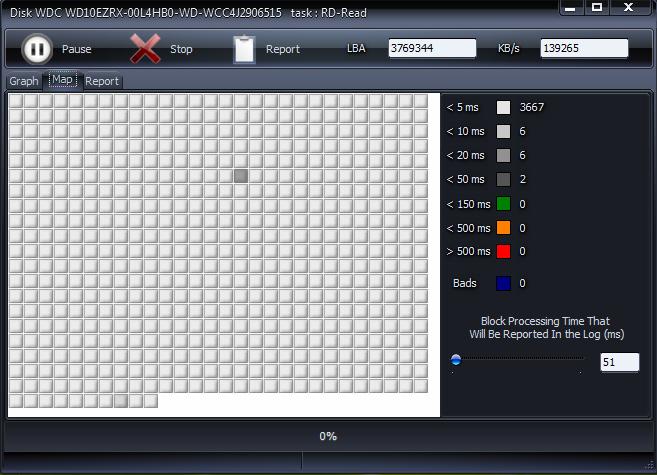
Furthermore, monitor the overall system stability and responsiveness. Pay attention to any unusual errors, crashes, or lagging that might indicate compatibility issues or conflicts with the new drive.
Relate Links :
Expert Guide: Clone Your Boot Drive to a Samsung SSD Safely
11-09-2023
Ashley S. Miller : Learn how to clone a boot drive to a Samsung SSD with the help of Samsung Data Migration...
Boost Your Security: Dell Password Reset Disk
08-02-2024
John Weaver : Discover the power of the Dell Password Reset Disk. This guide explains its purpose, usage, and offers alternative...
How to Backup OneDrive files to an external drive - Easy guide
26-12-2023
Jennifer Thatcher : Learn how to backup OneDrive files to an external hard drive. Discover key points and effective methods in...
- Importance of Backing Up and Verifying Files for a Smooth Windows 10 Drive Migration
- Back up Your Entire Drive
- Verify the Integrity of Your Files
- Clone Your Windows 10 Operating System with the Migration Tool
- Setting up Windows 10 to Boot from New Hard Drive
- Access BIOS or UEFI Settings
- Prioritize The New Hard Drive
- Restart Your Computer
- Ensuring Successful Migration: Testing Windows 10 Functionality on New Drive
- Boot into Windows 10
- Examine If All Your Programs and Files Are Intact
- Check The Performance of The New Drive
- Conclusion


