author avatar
    Senior Program Developer
 

Summary
The article discusses the importance of migrating user profiles, including settings, documents, and application settings, when deploying a large number of new Windows 10 machines. It highlights the use of Microsoft's User State Migration Tool (USMT) for this purpose, especially for large-scale deployments. The USMT is described as a powerful tool for effectively transferring user profiles from one Windows installation to another.

When deploying a large number of new Windows 10 machines, it is crucial to carry over all user settings, documents, and application settings. This process can be streamlined using the User State Migration Tool (USMT) provided by Microsoft. This guide will walk you through the steps to effectively use USMT for large-scale deployments, ensuring a smooth transition of user profiles.
Would you like to migrate your entire Windows system to a new disk drive instead? Please refer to the guide on Migrating Windows 10 to New drive.

Introduction to USMT

The USMT is a powerful tool designed for migrating user profiles, including settings and files, from one Windows installation to another. This tool is particularly useful for large-scale deployments involving hundreds or thousands of computers. Microsoft provides extensive documentation on USMT, which can be complex, but this guide will simplify the process.
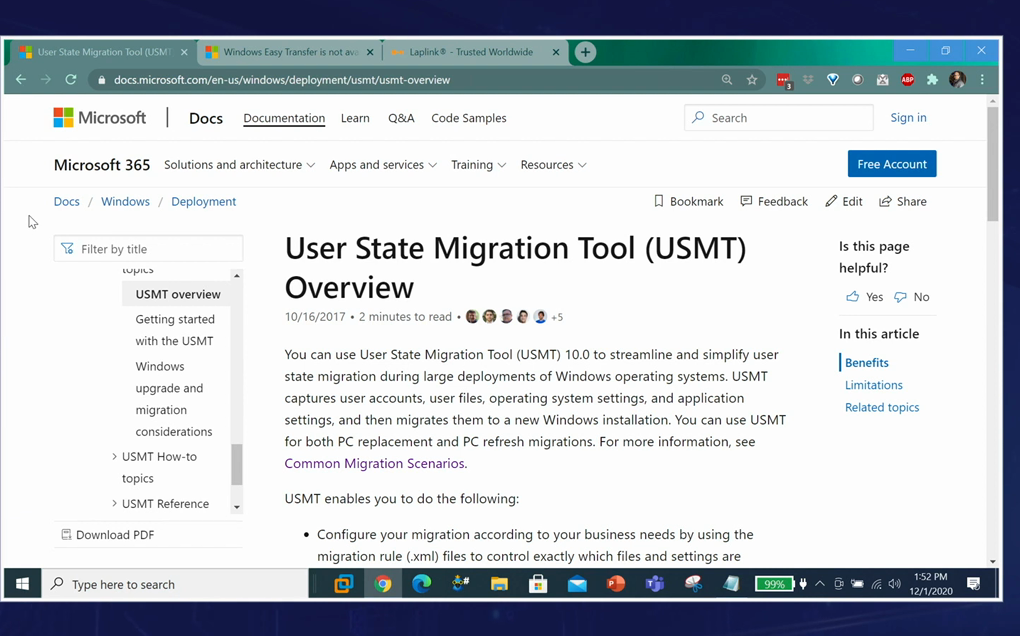
USMT Overview
For smaller deployments (e.g., fewer than ten computers), Microsoft recommends using simpler tools like LapLink PCMover Express. However, for larger deployments, USMT is ideal due to its scripting and automation capabilities.

Downloading and Installing USMT

To get started, you need to download and install the Windows Assessment and Deployment Kit (ADK), which includes USMT. This requires administrative privileges and an internet connection.
Downloading ADK
1. Download the ADK executable. (https://learn.microsoft.com/en-us/windows-hardware/get-started/adk-install)
2. Run the installer and select the default installation path.
3. Opt into the Customer Experience Improvement Program if desired.
4. Accept the license agreement.
5. Select only the User State Migration Tool for installation.

Setting Up USMT

After installation, navigate to the USMT directory, typically located at C:\Program Files (x86)\Windows Kits\10\Assessment and Deployment Kit\User State Migration Tool\amd64 for 64-bit systems. This directory contains the essential components: ScanState, LoadState, and several XML configuration files.
Creating Sample User Data

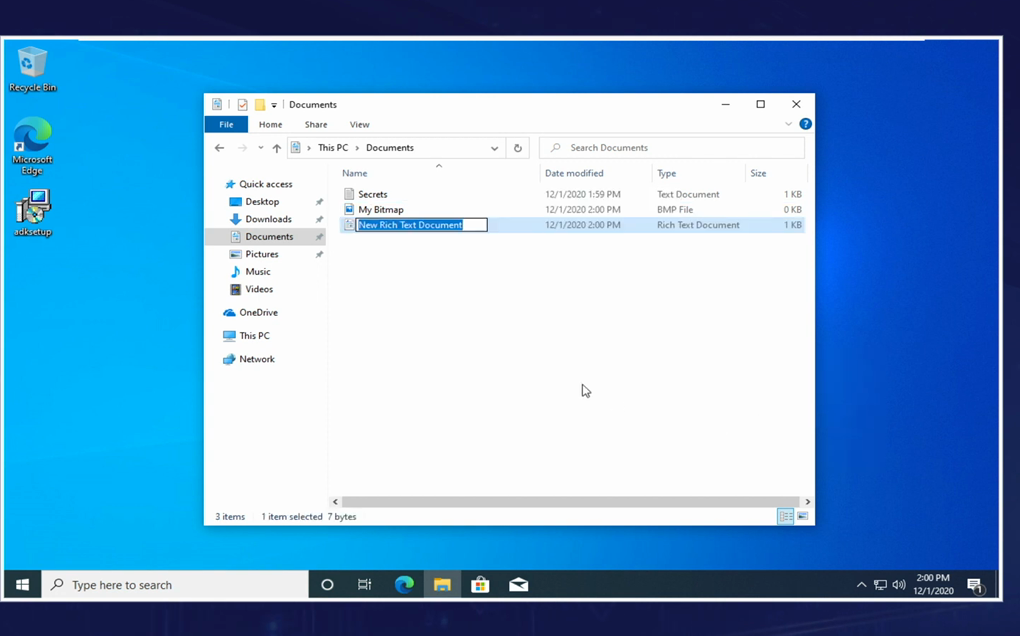
Before running USMT, create some sample user data to test the migration:
1. Create a few documents in the user’s Documents folder.
2. These documents will be used to verify the migration process.
Creating Sample Data

Running ScanState

The ScanState command scans the current state of the computer, capturing user settings, documents, and application settings. The captured data is stored in a migration store on a file server.
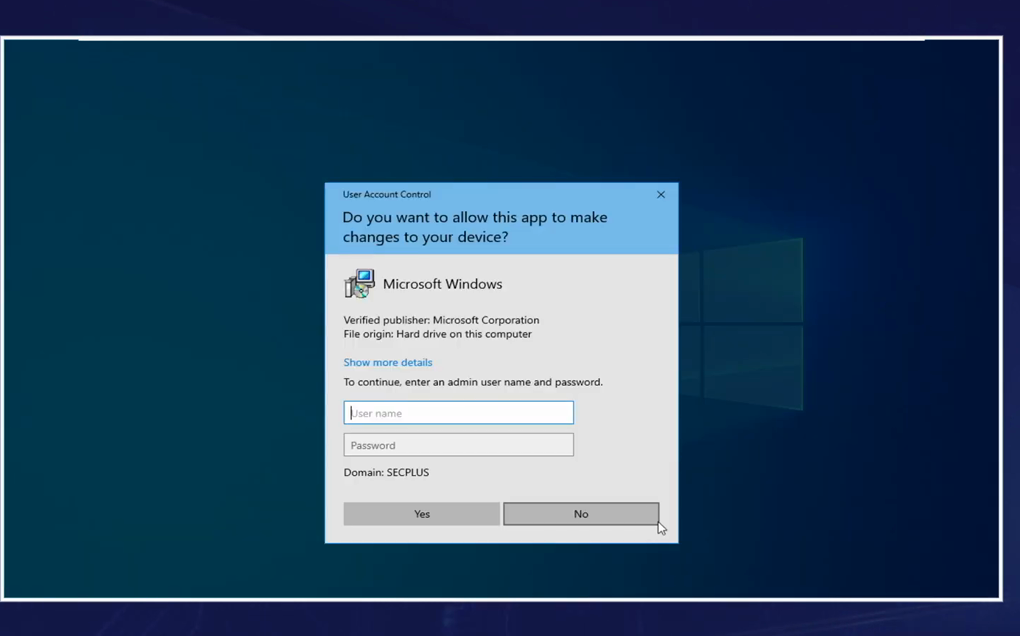
1. Open an administrative command prompt.
run as administrator
2. Navigate to the USMT directory.
3. Run the following command: scanstate \server\migration_store /i:migapp.xml /i:migdocs.xml /v:13 /l:scan.log This command specifies the migration store location and includes the necessary XML files.
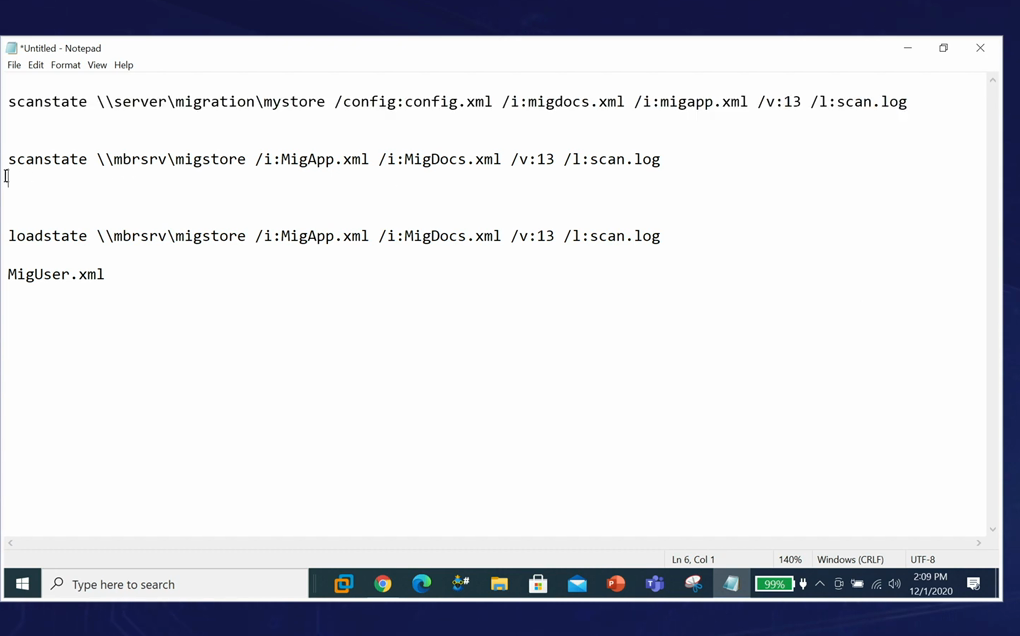
Running ScanState

Setting Up the Migration Store

On the file server, create a shared folder (e.g., MIGstore) with appropriate permissions to store the migration data. Ensure that users have write permissions to this folder.

Running LoadState

After capturing the data with ScanState, use LoadState to apply the captured data to a new Windows 10 installation.
1. Open an administrative command prompt on the new machine.
2. Navigate to the USMT directory.
3. Run the following command: loadstate \server\migration_store /i:migapp.xml /i:migdocs.xml /v:13 /l:scan.log This command retrieves the user settings, documents, and application settings from the migration store and applies them to the new machine.
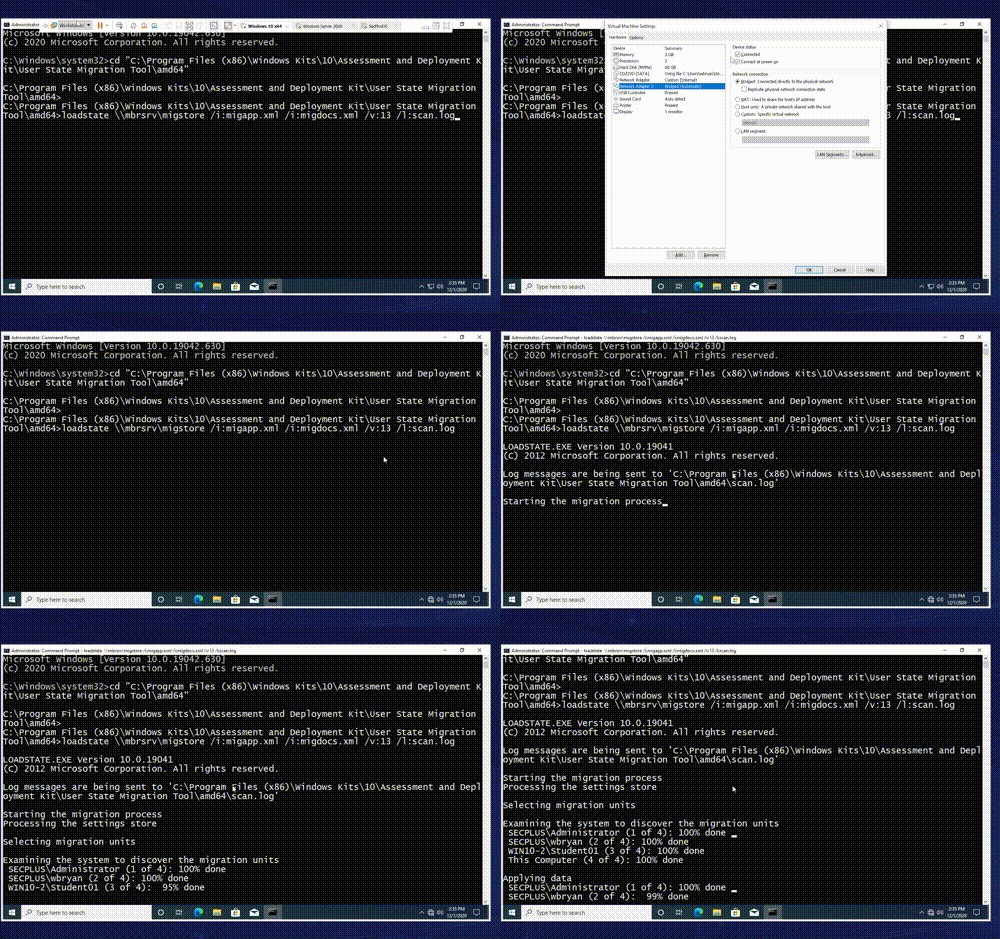
Running LoadState

Verifying the Migration

After running LoadState, verify that the user data has been successfully migrated:
1. Log in to the new machine with the user account.
2. Check the Documents folder and other locations to ensure that all files and settings have been migrated correctly.

Using Renee Becca for System Migration

If you are looking for an alternative tool to migrate Windows 10 systems, Renee Becca is an excellent choice. Renee Becca is specifically designed for system and hard disk data backup and restoration. It can efficiently back up and restore essential data on your computer, including programs, system configurations, emails, photos, videos, documents, and bookmarks.
Additionally, it allows for disk and system data cloning with three different cloning methods: hard disk cloning, partition cloning, and system migration. With Renee Becca, migrating the Windows 10 system to another computer’s hard disk is straightforward.
Hot Topic - ADsRenee Becca – Safe and Quick System Migration to SSD

Automatic 4K alignment Improves SSD performance during system migration.

Support GPT and MBR Automatically adapt to the suitable partition format.

Support NTFS and FAT32 Redeploy various files in different file systems.

Back up quickly Back up files at up to 3,000MB/min.

Overall backup schedule Support system redeployment/system backup/partition backup/disk backup/disk clone.

Automatic 4K alignment Improve SSD performance

Support GPT and MBR Intelligently adapt to a partition format

Support NTFS and FAT32 Redeploy files in different file systems

Free TrialFree TrialNow 2000 people have downloaded!
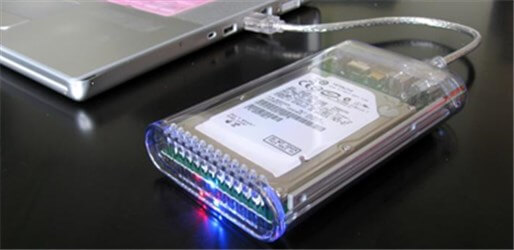
Step 1: Connect the hard disk of other computers to the original computer through an external hard disk box.
connect disk to another computer with enclosure
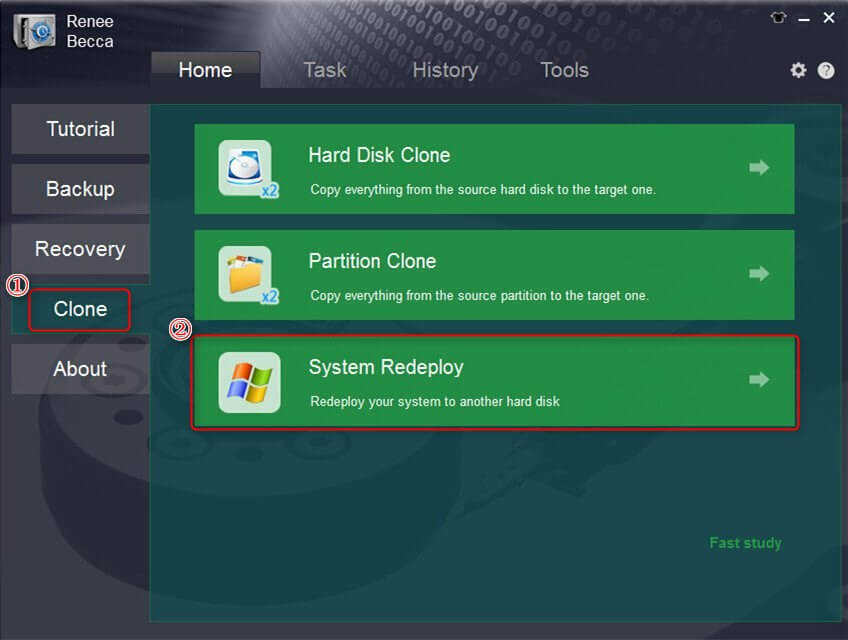
Download and install Renee Becca on the original computer, and select the “System Redeploy” option in the main interface under the “Clone” column.
select system redeploy function in clone
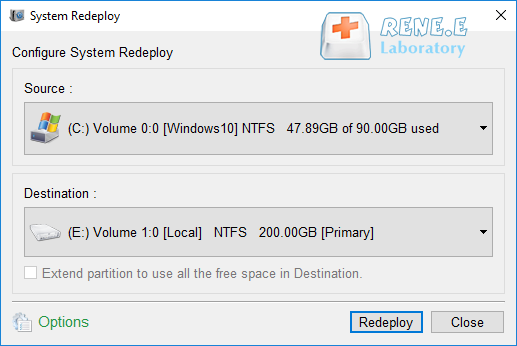
Step 2: In the “System Migration” window, choose a new hard disk as the target location and the system partition as the source. Click the migration button to start the process. Wait for the progress bar to reach 100% to indicate successful migration. Install the new hard disk on other computers and set it as the first boot device in the BIOS. Check and adjust the settings in the BIOS if needed.
select a destination to redeploy system with renee becca
Kind tips: The total capacity of the new hard disk needs to be greater than the size of the system to be migrated; in addition, since all data in the target disk will be erased during the system migration, please check whether the target disk exists before the official system migration. Important data, and make file backups in advance. If you want to migrate all the data of the original system hard disk (not just the system partition) to the new hard disk, you can also choose the hard disk clone/clone system hard disk function.

Conclusion

Using USMT for migrating Windows 10 user profiles is an efficient way to handle large-scale deployments. By following the steps outlined above, you can ensure a smooth transition of user settings and data to new machines. This method not only saves time but also minimizes the risk of data loss, making it an ideal solution for IT professionals managing large-scale migrations.
Hot Topic - ADsRenee Becca – Safe and Quick System Migration to SSD

Automatic 4K alignment Improves SSD performance during system migration.

Support GPT and MBR Automatically adapt to the suitable partition format.

Support NTFS and FAT32 Redeploy various files in different file systems.

Back up quickly Back up files at up to 3,000MB/min.

Overall backup schedule Support system redeployment/system backup/partition backup/disk backup/disk clone.

Automatic 4K alignment Improve SSD performance

Support GPT and MBR Intelligently adapt to a partition format

Support NTFS and FAT32 Redeploy files in different file systems

Free TrialFree TrialNow 2000 people have downloaded!