

How to Recover Data from an Uninitialized Disk Without Further Damage

Summary
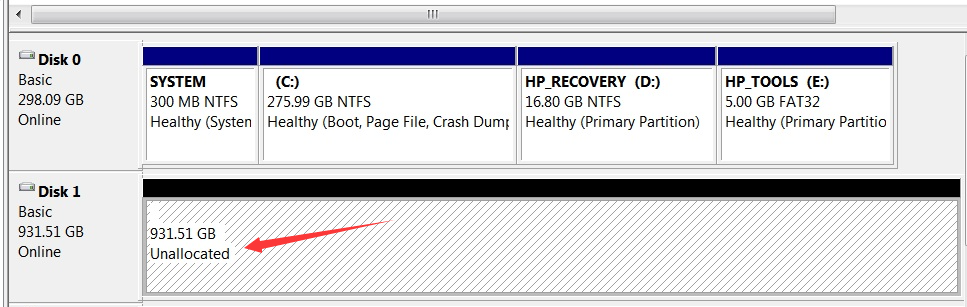
When a hard drive becomes uninitialized, it becomes inaccessible via Windows Explorer, often due to logical or physical damage. However, data recovery is usually possible if the correct procedures are followed. Factors that can cause a drive to become uninitialized include corrupted partition tables, faulty or outdated drivers, power surges or loss, and file system damage. The article provides guidance on recovering data from such a drive while minimizing the risk of further damage.


Table of contents
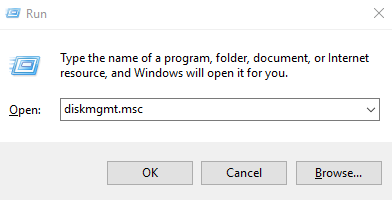
- 1. Press
Win + R.

- 2. Input
diskmgmt.msc

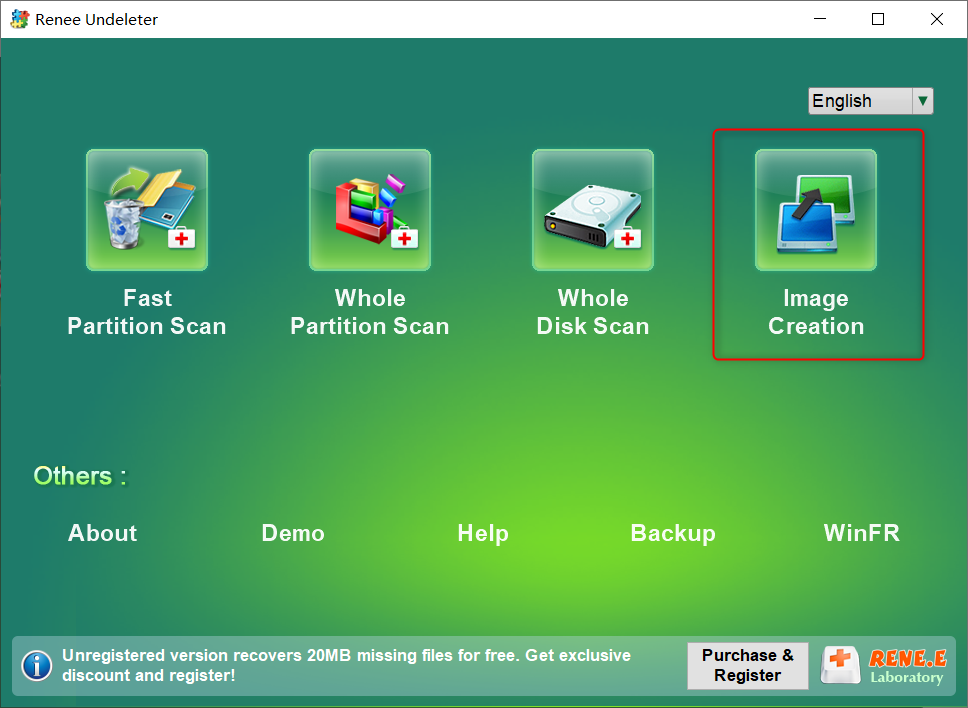
Easy to use Only simple steps to recover data from storage devices.
Multiple scan modes Fast partition scan, whole partition scan and whole disk scan for different recovery needs.
File types Support to recover pictures, videos, audios, documents, mails, etc.
Supported storage devices Recover data from recycle bin, SD card, external disk, etc.
Supported systems Windows 10, 8.1, 8, 7, Vista, XP, 2000 and Mac OS X10.6, 10.7, 10.8.
Easy to use Only simple steps to recover data from storage devices.
Multiple scan modes - 3 scan modes for different recovery needs.
Supported storage devices Recover data from recycle bin, SD card, external disk, etc.
Easy to use Only simple steps to recover data from storage devices.
Multiple scan modes Fast partition scan, whole partition scan and whole disk scan for different recovery needs.
File types Support to recover pictures, videos, audios, documents, mails, etc.
Supported storage devices Recover data from recycle bin, SD card, external disk, etc.
Supported systems Windows 10, 8.1, 8, 7, Vista, XP, 2000 and Mac OS X10.6, 10.7, 10.8.
Easy to use Only simple steps to recover data from storage devices.
Multiple scan modes - 3 scan modes for different recovery needs.
Supported storage devices Recover data from recycle bin, SD card, external disk, etc.


Easy to use Only simple steps to recover data from storage devices.
Multiple scan modes Fast partition scan, whole partition scan and whole disk scan for different recovery needs.
File types Support to recover pictures, videos, audios, documents, mails, etc.
Supported storage devices Recover data from recycle bin, SD card, external disk, etc.
Supported systems Windows 10, 8.1, 8, 7, Vista, XP, 2000 and Mac OS X10.6, 10.7, 10.8.
Easy to use Only simple steps to recover data from storage devices.
Multiple scan modes - 3 scan modes for different recovery needs.
Supported storage devices Recover data from recycle bin, SD card, external disk, etc.
Relate Links :
How to recover files from an external hard drive that is not detected?

20-05-2024
Amanda J. Brook : Ensure the external hard drive is properly connected; troubleshoot physical issues first. Learn how to recover files from...
27-07-2021
Ashley S. Miller : If you want to change a solid hard drive, you should clone the data from the source drive...
How to Initialize External Disk and Recover Data on Windows?

18-10-2019
John Weaver : Sometimes, we need to initialize an external disk. How to initialize a disk on Windows? How to recover...
How to Initialize Disk and Choose MBR or GPT?
17-04-2019
Ashley S. Miller : How to choose the partition table for a new disk? In the essay, we will tell you the...
- Why Does a Drive Become Uninitialized/Unallocated?
- How to Recover Data from an Uninitialized Drive
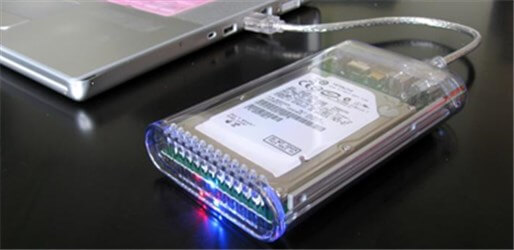
- Step 1: Rule Out Hardware and Connection Issues
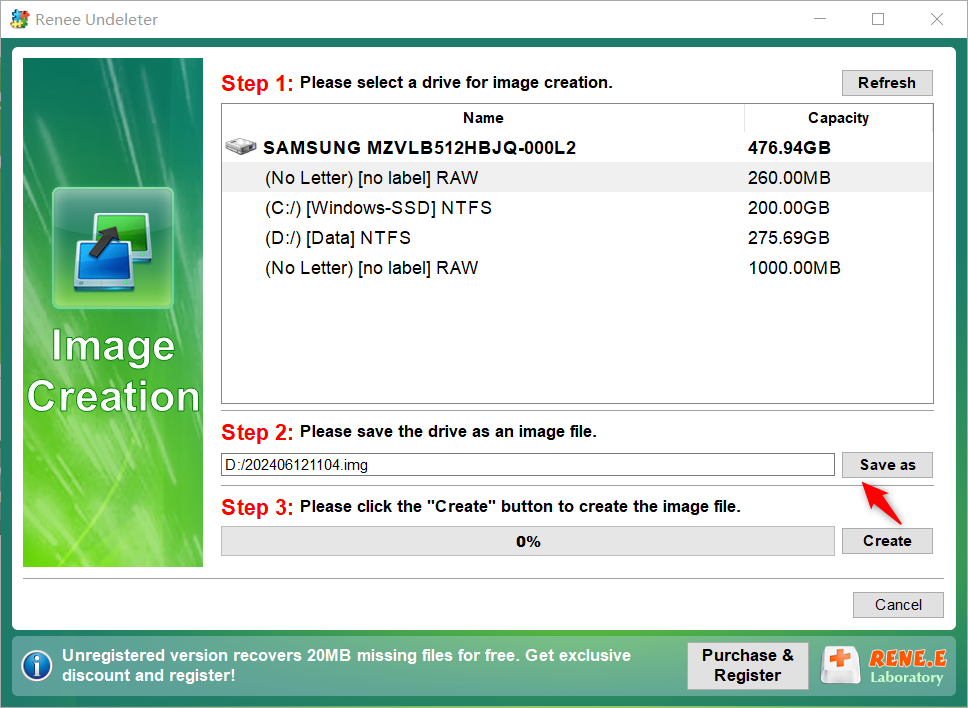
- (Optional) Step 2: Create a Disk Image of the Uninitialized Drive
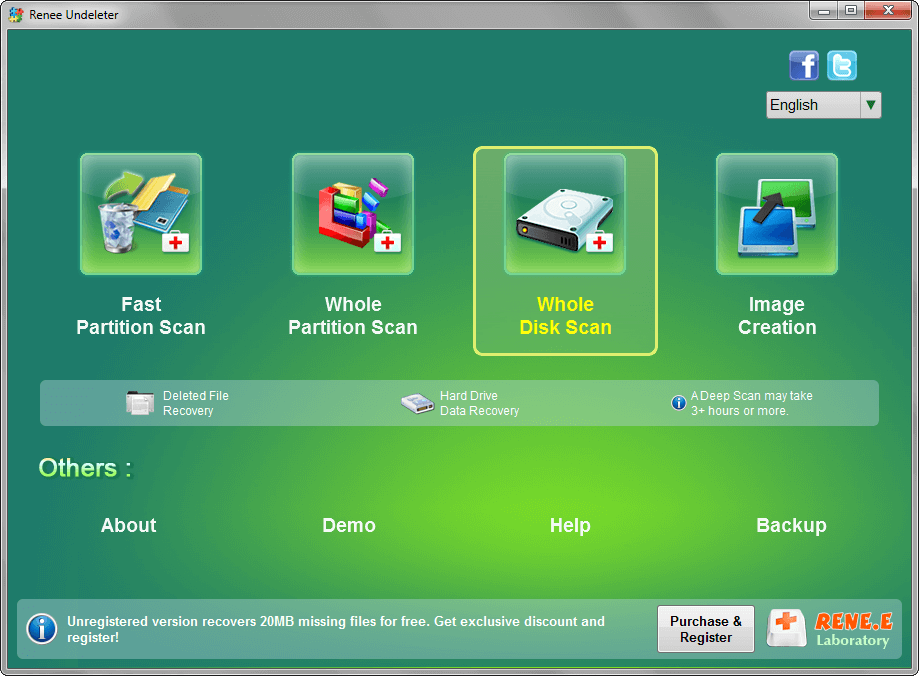
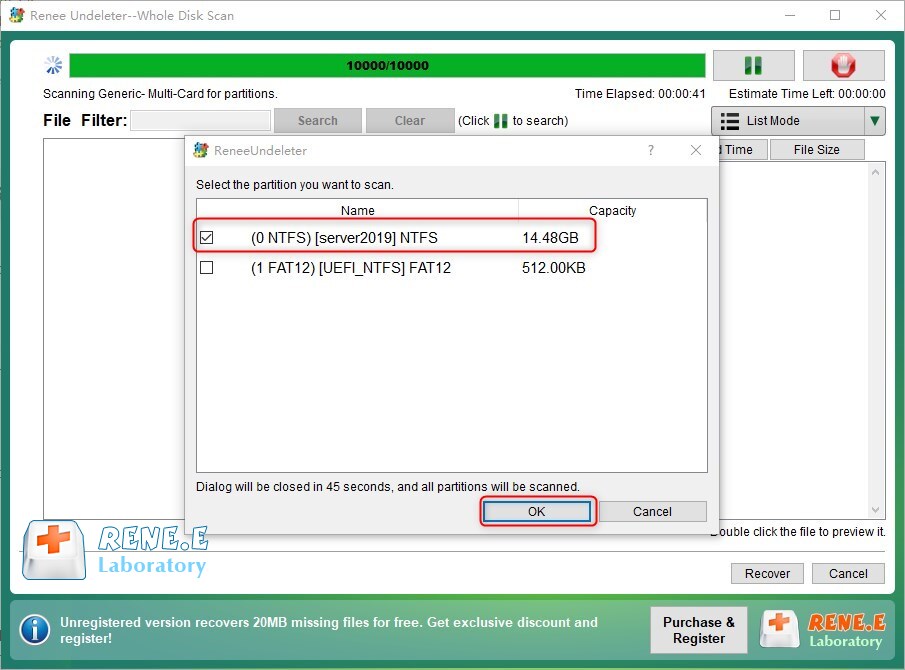
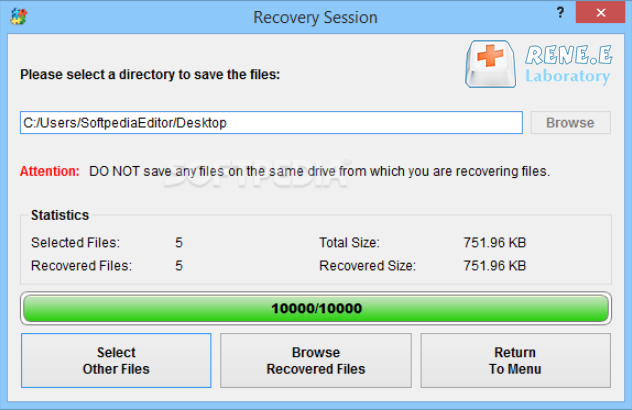
- Step 3: Recover Data from the Uninitialized Drive
- What Not to Do When Recovering Data from an Uninitialized Drive
- FAQ
- Conclusion

