author avatar
    Specialist of Customer Service Dept.
 

Summary
The article discusses how to restore a missing D: disk drive on a computer by first determining whether the issue is hardware or software-related. It highlights the importance of identifying the cause, such as recent installations or updates, to avoid unnecessary troubleshooting steps. The article also mentions common reasons for the disappearance, including physical damage to connectors or drives, and provides a data recovery guide for retrieving lost files if standard fixes do not work.


D drive disappeared
So, the Local D: drive on your computer disappeared. How do you get it back? The first thing you need to do is determine the cause—is it a hardware or software issue? Once you’ve identified the cause, you can proceed to fix it. There are several potential fixes, which means there’s some trial and error involved. If none of the fixes work, I’ve included a data recovery guide to help you retrieve any files that were stored on the D: disk drive/partition. Let’s get started!

Find Out What Caused the D: Drive to Disappear

Finding the reason behind the D: drive’s disappearance should be simple enough. First, try to remember what you did before the D: drive disappeared. Did you install any new programs? Was Windows updated recently? By pinpointing the culprit, you can simply undo the changes you made, instead of attempting each fix one by one.

Common Reasons Why the D: Drive Disappears

1. Physically Damaged Connectors or Drives
This is easy to determine if the D: partition was on the same drive that Windows is installed in. Your computer simply won’t boot if that’s the case. If it’s a separate drive, you may notice that the D: drive disappears and reappears constantly, among other symptoms. Here’s how you find out if the drive itself is detected or not by your PC:
1. Press Windows Key + R, type diskmgmt.msc in the text box, and press Enter. This will launch Disk Management.
run disk management
2. Look for the drive with the D: partition in the drive list. If you don’t see it there, the problem may be a hardware issue.
disk is healthy after being partitioned
To be doubly sure, confirm if the drive is missing from the BIOS as well. Restart your PC, and press the corresponding key combination (differs across motherboard vendors) to enter the BIOS settings. Look for the drive in the system information screen. If it’s not there, the issue certainly lies with the hardware.
Note: Some drives may not appear on Windows because they aren’t receiving enough power. This usually happens with HDDs (internal and external) due to a loose or damaged power connector.
2. Faulty Drivers and Windows Updates
D: drive disappeared after a Windows Update? Windows updates are infamous for causing problems like these. This happens because, along with the core update, the drivers, policies, and Registry settings are also updated. Your existing hardware configuration may conflict with the new software. Sometimes, the issue exclusively lies with the software drivers. Manufacturers release regular driver updates to fix prevalent bugs and expand the compatibility of their hardware. If you’re not updating the drivers for your hard drive regularly, you’re bound to run into the D: drive disappearing problem. In this case, roll back the latest Windows update, or manually download the latest drivers for your hard drive.
3. Logical Corruption
All storage drives are susceptible to logical corruption, and Windows will have trouble reading a corrupted drive. Symptoms of logical corruption include randomly disappearing files or a missing D: partition. Bad sectors, file system errors, partition table damage, and bad sectors all constitute logical corruption. Fortunately, logical corruption is mostly easy to reverse. Even if you can’t reverse the corruption, your files can be recovered using a good data recovery program.
4. Drive Letter Conflicts
Each disk partition and external drive on your PC has a unique drive letter assigned to it (C:, D:, E:, etc.). No two partitions or drives can have the same drive letter. Usually, Windows ensures that this doesn’t happen. However, if you use a lot of external drives and partitions, or you manually assigned the same drive letter to different drives, it can lead to a drive letter conflict. Drives with the same drive letter won’t appear in Windows Explorer but should be visible in Disk Management. Simply assign a unique drive letter to your drives using Disk Management to fix this.

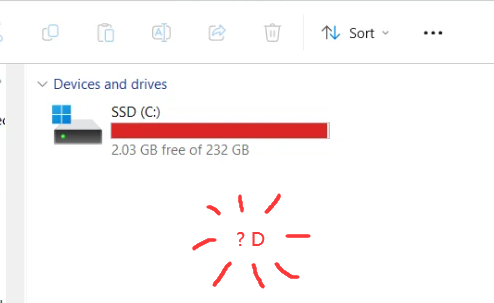
Best Methods to Restore the D: Drive

If you know why the D: drive disappeared, attempt the corresponding fix first. However, if you’re unsure, then attempt the fixes in the order listed below.

Method 1: Make Sure Your PC Detects the Drive

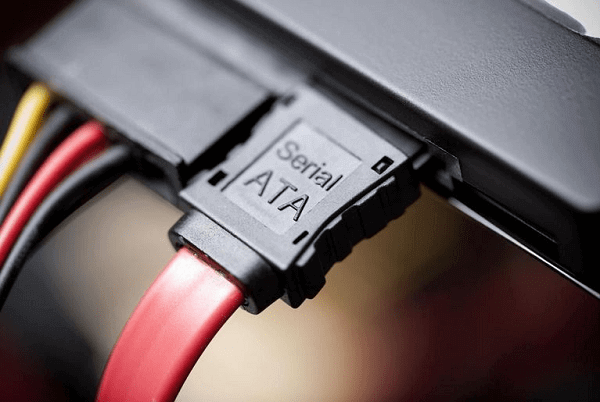
Before doing anything else, make sure that the drive is properly connected to your motherboard. A loose SATA cable or a bent connector is enough for the drive to become undetectable. The SATA cable that plugs into the motherboard and your hard drive should be snug with minimal play. Watch this video to see how to connect a hard drive to a motherboard. This only applies if the D: partition was on a separate drive, because Windows won’t boot if the primary drive isn’t detected. Once you’ve ensured the drive is properly connected to your PC, check if it’s detected by your computer in Windows Disk Management:
check and replace power cord
1. Type disk management in Windows Search (Windows Key + S). Click on Disk Management from the search results.
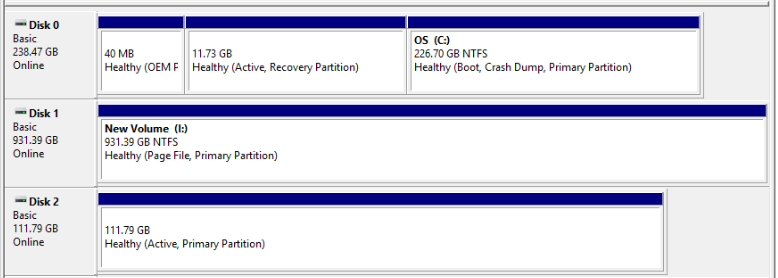
2. Look at the bottom half of the Disk Management window. If the drive is listed there, it means Windows detects the drive.
The exact number of drives may vary depending on how many disks are connected to your PC. But what if the D: drive is not showing in Disk Management? Check if the drive appears in the BIOS/UEFI settings:
1. Reboot your PC. While it’s booting, when the motherboard manufacturer’s logo appears, press the relevant key combination to enter the BIOS/UEFI settings. This combo differs across manufacturers, so do a Google search for the key combination for your motherboard before proceeding further. You can also boot into the BIOS settings using the Windows UI.
2. In the BIOS settings, go to the System Information or General tab to see the list of connected drives. If your drive isn’t listed there, it’s quite possible the drive has gone kaput or isn’t connected properly. To verify this, connect the drive to another PC and see if the issue persists.

Method 2: Rescan Disks

It’s possible Windows ran into some errors when detecting the D: drive path. There could be several reasons for this, but you can fix it by simply prompting Windows to rescan all the disks connected to your PC. To do this, follow these steps:
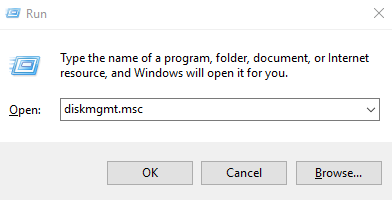
1. Press Windows Key + R to open the Run application. Type diskmgmt.msc and press Enter.
2. Click on Action > Rescan Disks in the menu bar.
Screenshot of Disk Management in Windows showing the "Action" menu open, with the "Rescan Disks" option highlighted.
3. Wait for Disk Management to finish, and check if the D: partition appears. When I followed the steps above, I saw a new partition show up in the Disk Management window, but it didn’t have a drive letter. To fix this, I manually assigned a drive letter to it—described in the next step. Sometimes, fixing a disappeared D: drive can be a combination of fixes.

Method 3: Change or Assign a Drive Letter

Drive letter conflicts are a major reason why the D: drive disappears. Sometimes, Windows Updates may remove the drive letter entirely. To fix this, you need to manually assign a drive letter to the partition. How? Using Windows Disk Management:
1. Press Windows Key + R to open the Run application. Type diskmgmt.msc in the text box, and press Enter. Alternatively, search for disk management in Windows Search (Windows Key + S), and launch Disk Management from there.
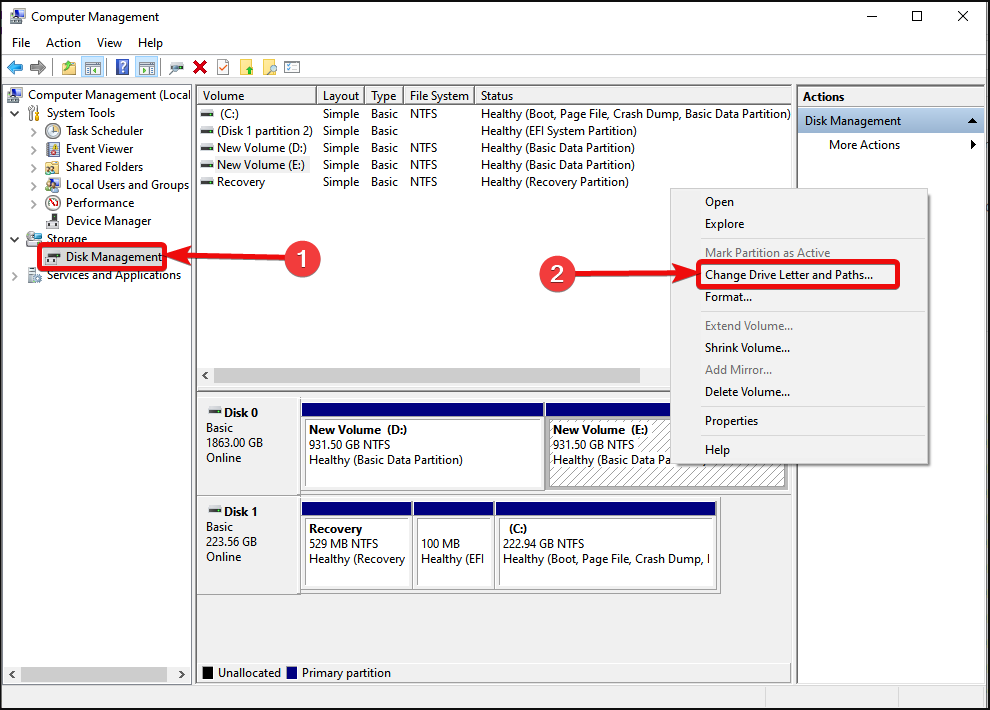
2. Since the D: partition doesn’t have a drive letter, it’ll be listed as Disk 0, Partition 3, or something similar. To confirm that it’s the partition you’re looking for, double-check its size in the Capacity column. Keep in mind, Windows recovery partitions also show up with similar nomenclature, but they’re usually 100 MB or so in size—don’t touch these partitions.
3. Right-click on the former D: partition, and click on Change Drive Letter and Paths.
disk Management Change Driver Letter
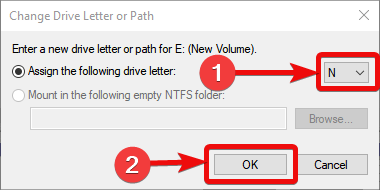
4. Click on Add in the next prompt.
5. Choose a drive letter from the drop-down menu and click OK.
disk Management Change Driver Letter

Method 4: Update the SATA Controller and Hard Drive Drivers

Driver updates are a silver bullet for numerous disk-related issues on Windows, including a missing D: drive. There are two drivers you need to update—the SATA (NVM Express, if you’re on an SSD) controller drivers, and the drivers for the disk itself. You can manually update these drivers using the Device Manager in Windows:
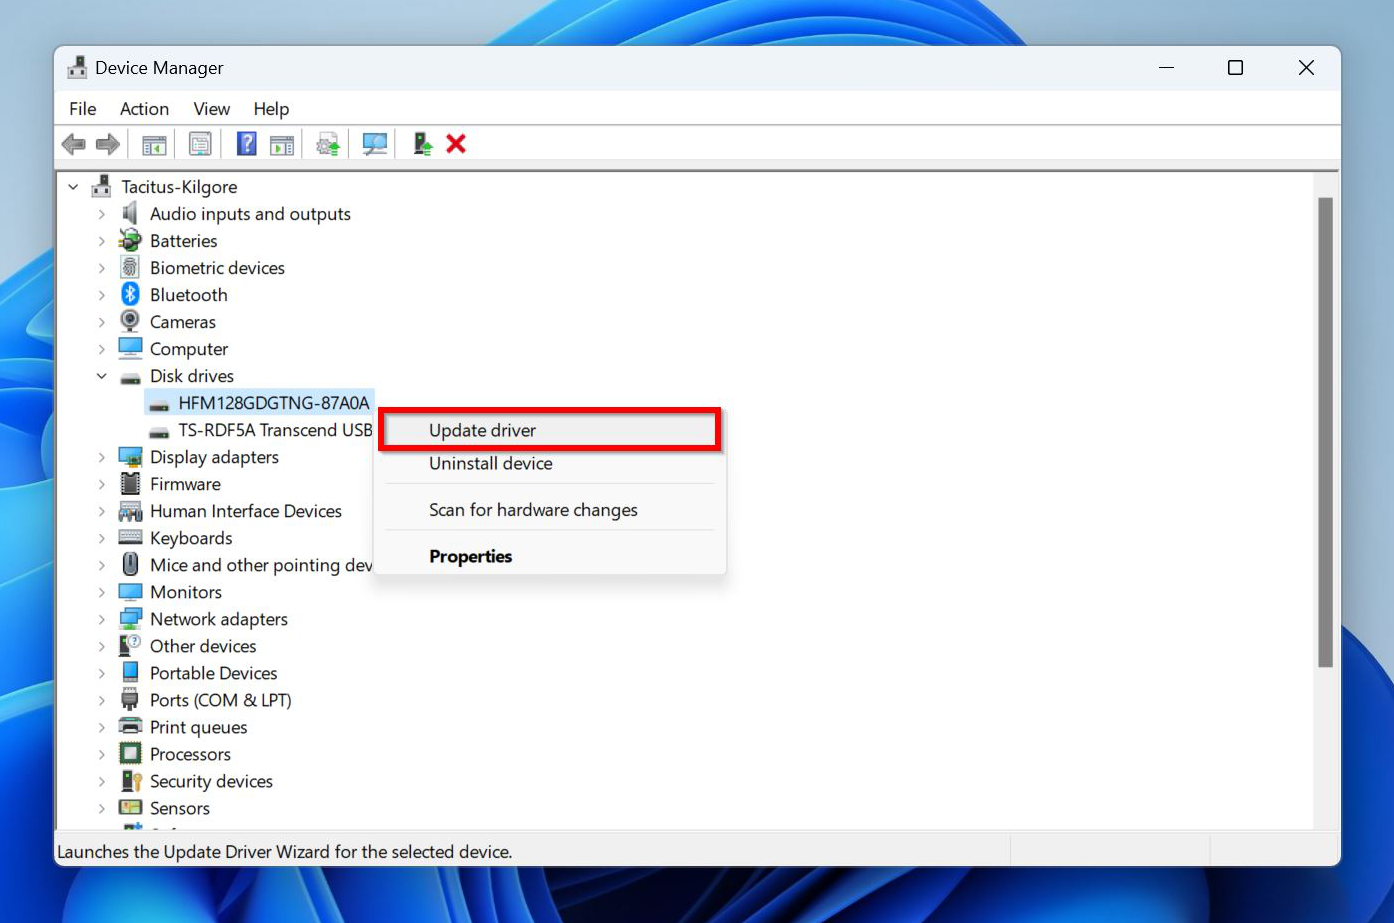
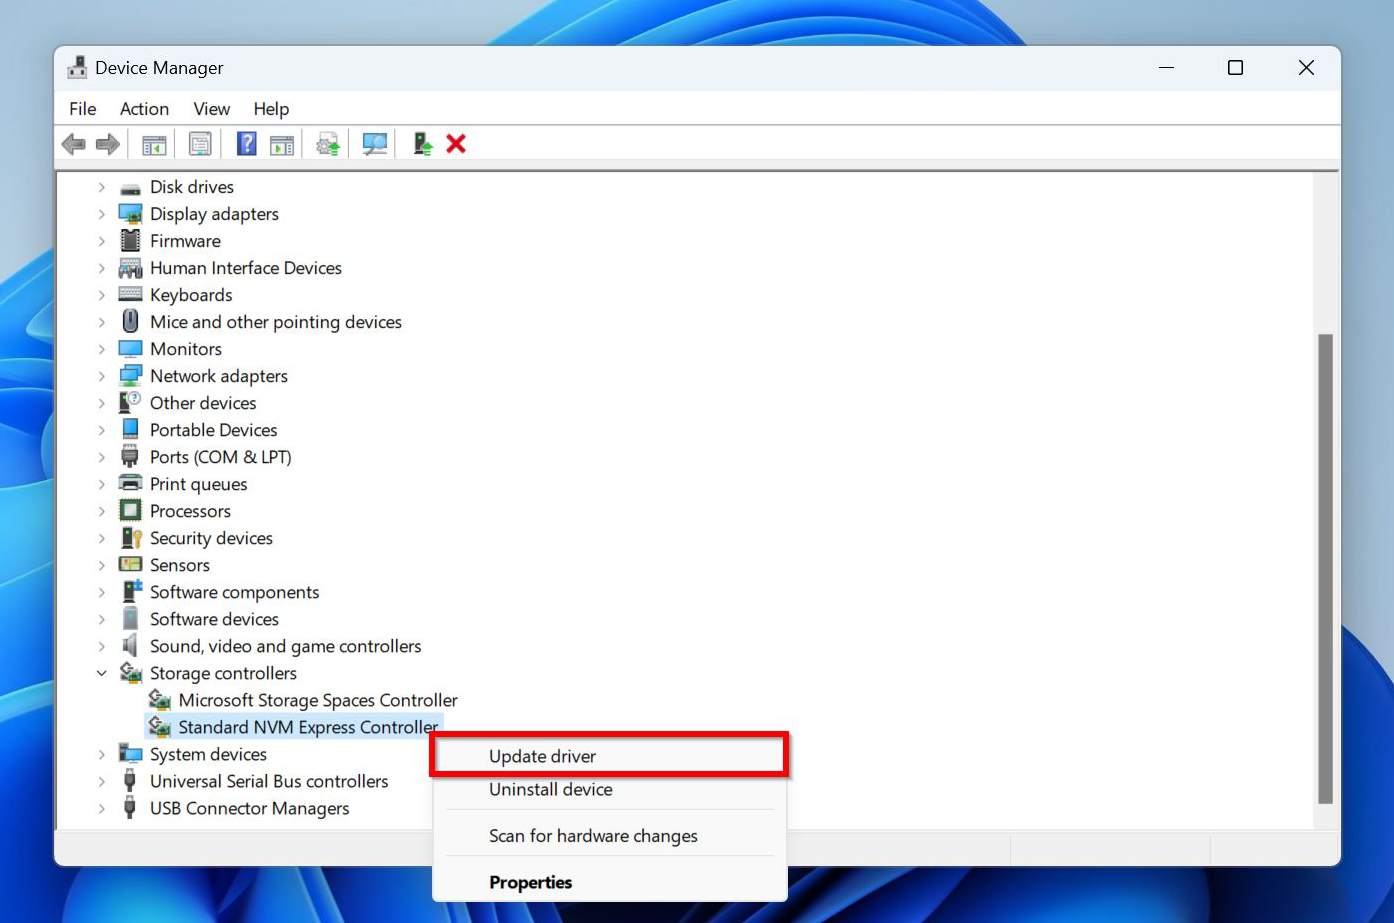
1. Search for device manager in Windows Search (Windows Key + S), and click on Device Manager from the search results.
2. Expand the Disk Drives section, right-click on the hard drive containing the D: partition, and pick Update driver.
Screenshot of Device Manager in Windows showing the context menu for a hard drive.
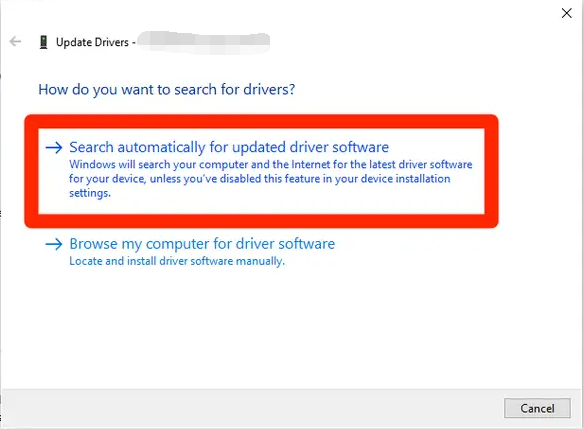
3. Ensure you’re connected to the internet, and click Search automatically for drivers.
update Driver Confirm
4. Windows will download and install the latest drivers.
5. Now, expand the Storage Controllers section, right-click on the SATA storage controller, and click Update driver. On SSDs, update the NVM Express controller.
Screenshot of Device Manager in Windows showing the context menu for a Storage Controller.
6. Again, click Search automatically for drivers and let Windows install the latest drivers.
7. Reboot your PC, and rescan the disks using Disk Management.
Note: This method could be particularly successful if the D: drive disappeared on Windows 11. Here’s a Reddit user describing his experience after upgrading to Windows 11 and dealing with a missing D: drive.

Method 5: Roll Back Windows Update

If the D: drive disappeared after a Windows Update, the best thing you can do is simply uninstall the latest update. But, do this after you’ve tried all other fixes, as Windows Updates often contain important security improvements and bug fixes. Here’s how you uninstall Windows updates:
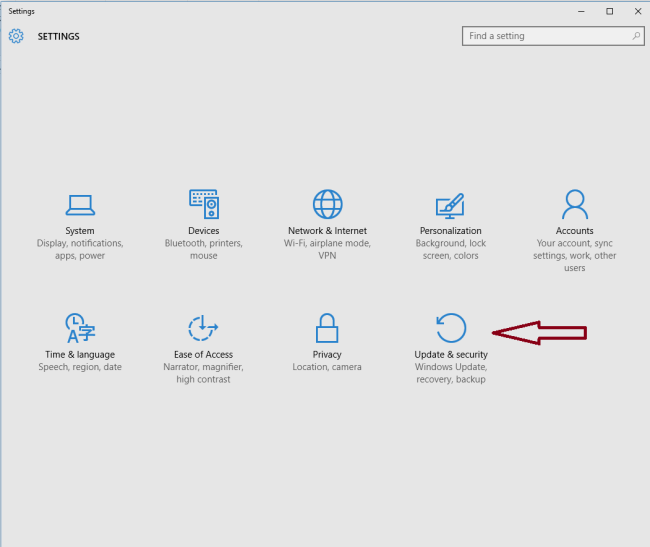
1. Right-click the Start button, and choose Settings.
settings in Windows
2. Click on Update & security in the left navigation pane.
settings Update And Security
3. Click on Update History, under More options.
4. Scroll down and click on Uninstall updates, under Related settings.
5. Click Uninstall next to the latest update.
6. Reboot your PC if Windows doesn’t do it automatically.
The steps above work on Windows 11. If you’re running Windows 10, follow these steps instead.

Method 6: Use System Restore

On a Windows computer, a time machine does exist—it’s just called System Restore. This feature can effectively restore your Windows PC to an earlier date and time. Your Windows configuration will also be reset to its state at that time. Give it a go, and maybe your D: drive will reappear.
Note: System Restore is not enabled by default, so this method will only work if you previously enabled it.
Here’s how to use System Restore to restore the D: drive on Windows 10 and Windows 11:
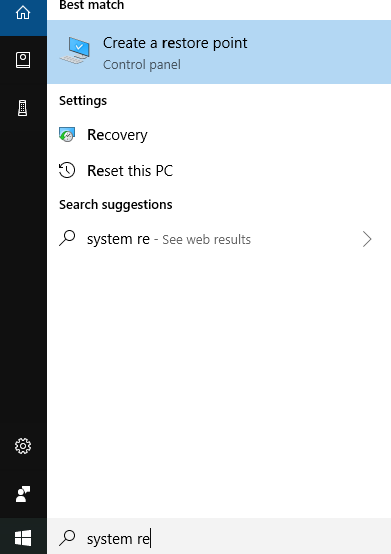
1. Search for system restore in Windows Search (Windows Key + S). Click on Create a restore point from the search results.
find create restore point in windows 10,
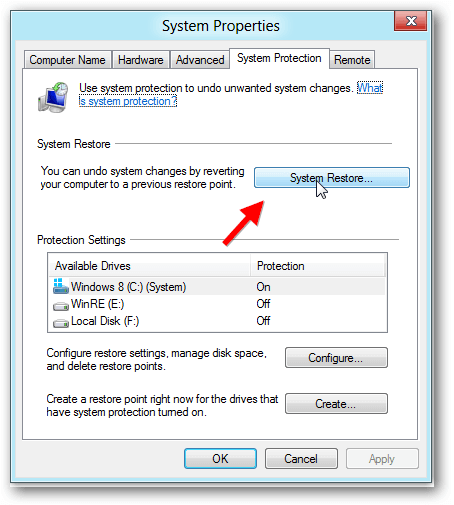
2. Click on System Restore.
System Restore Point thumb
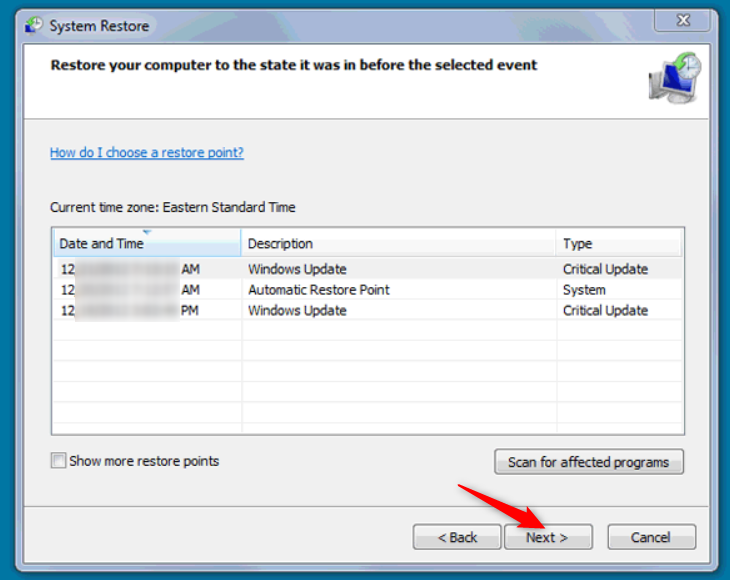
3. Click Next on the System Restore wizard welcome screen.
4. Select a restore point from the list, and click Next.
system restore
5. Click Finish to begin the System Restore process. Your PC may reboot several times during the process.

How to Recover Data from the D: Drive

Even if none of the fixes restore your D: drive, you can still recover any data that was on it, using a data recovery program. In some cases, the D: drive may come back, but you’ll notice some of its data is missing. Here too, a good data recovery program can help you out.

Renee Undeleter: Your Data Recovery Solution

Renee Undeleter is a comprehensive data recovery software that can assist in retrieving a wide range of files lost due to accidental deletion, recycle bin emptying, disk or memory card formatting, and various other data loss incidents. This robust tool includes four essential modules: Fast Partition Scan, Whole Partition Scan, Whole Disk Scan, and Image Creation, offering a multifaceted approach to restoring lost data.
Renee Undeleter - Powerful Data Recovery SoftwareRenee Undeleter data Recovery software

Easy to use Only simple steps to recover data from storage devices.

Multiple scan modes Fast partition scan, whole partition scan and whole disk scan for different recovery needs.

File types Support to recover pictures, videos, audios, documents, mails, etc.

Supported storage devices Recover data from recycle bin, SD card, external disk, etc.

Supported systems Windows 10, 8.1, 8, 7, Vista, XP, 2000 and Mac OS X10.6, 10.7, 10.8.

Easy to use Only simple steps to recover data from storage devices.

Multiple scan modes - 3 scan modes for different recovery needs.

Supported storage devices Recover data from recycle bin, SD card, external disk, etc.

Free TrialFree TrialFree Trial

3000 users have downloaded Renee Undeleter and found data back!

Steps to Recover Data with Renee Undeleter

Step 1: Download, install, and run Renee Undeleter. Select the Whole Disk Scan option on the main interface.
Note: Do not install on the disk that needs to restore data, to avoid data overwriting.
select whole disk scan to scan disk in renee undeleter
Step 2: Select the hard disk device to be scanned, and click Next. Select default setting on the advanced setting interface.
select a disk to recover in renee undeleter
Step 3: The software will initiate a scan of the hard drive. Select the appropriate partition when prompted.
Select the partition you need to scan
After the scan, preview the files by double-clicking in the preview pane on the right. To recover a file, highlight it and click the Recover button located at the bottom-right corner.
preview before recovery
Step 4: Click Browse to select another disk to save the recovered files, and then click the Restore button to start the file recovery command. Wait patiently for the process to complete.
recover the whole disk data

Conclusion

The D: drive can disappear due to a plethora of reasons—the most common ones being faulty updates and logical corruption. When fixing this issue, first confirm that your PC detects the drive. Once confirmed, you can attempt to restore the D: drive by assigning a new drive letter, rolling back faulty updates, updating old drivers, and using System Restore. If nothing helps, you can always recover the D: drive’s missing files using
Renee Undeleter - Powerful Data Recovery SoftwareRenee Undeleter data Recovery software

Easy to use Only simple steps to recover data from storage devices.

Multiple scan modes Fast partition scan, whole partition scan and whole disk scan for different recovery needs.

File types Support to recover pictures, videos, audios, documents, mails, etc.

Supported storage devices Recover data from recycle bin, SD card, external disk, etc.

Supported systems Windows 10, 8.1, 8, 7, Vista, XP, 2000 and Mac OS X10.6, 10.7, 10.8.

Easy to use Only simple steps to recover data from storage devices.

Multiple scan modes - 3 scan modes for different recovery needs.

Supported storage devices Recover data from recycle bin, SD card, external disk, etc.

Free TrialFree TrialFree Trial

3000 users have downloaded Renee Undeleter and found data back!